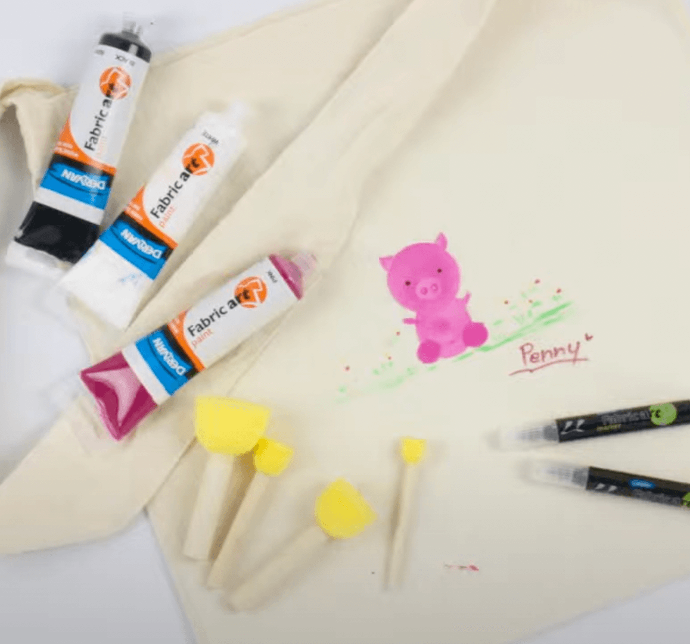
FABRIC ART PROJECT | PIG TOTE BAG
Unleash your inner artist and create a fun pig print with Derivan Fabric Art Paint! In this video, we'll show you how to make a unique fabric art piece with the help of our special fabric paint and markers. You'll learn how to prepare the fabric, use the markers to make the pig print, and set the colours to stay bright and vibrant. It's a fun and easy project that anyone can do - so grab your Derivan Fabric Art Paint and markers and get creative! Using Derivan Fabric Art paint, fabric marker, and a spouncer
YOU WILL NEED
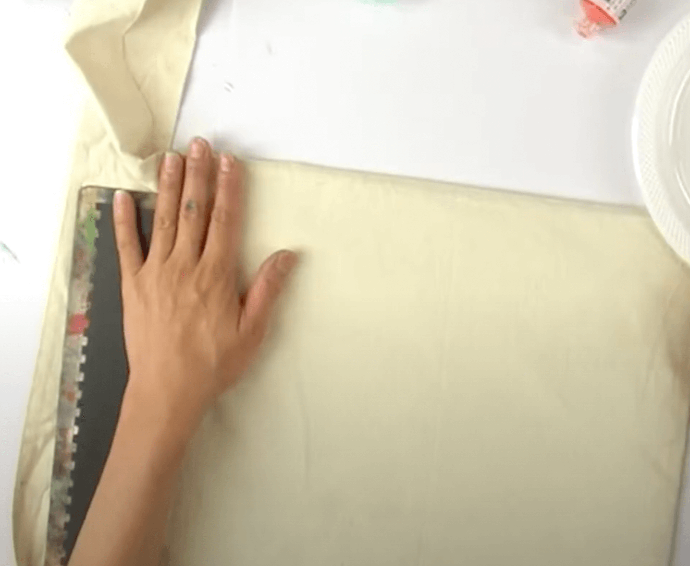
STEP ONE | PREPARE TOTE BAG
Place a thick piece of cardboard inside your tote bag or underneath the layer of fabric that you are painting your design on. This will stop the paint from affecting any other layers of fabric.
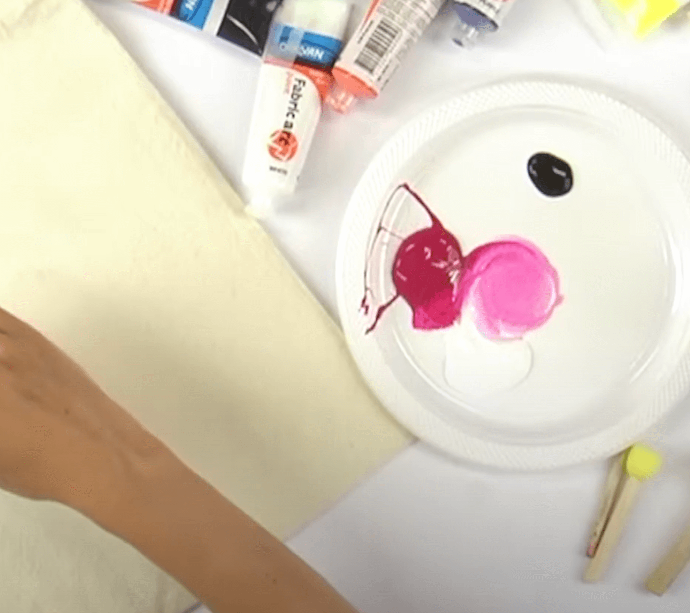
STEP TWO | PREPARE PAINT
Use the largest spouncer to mix magenta and white paint, creating a lighter pink colour.
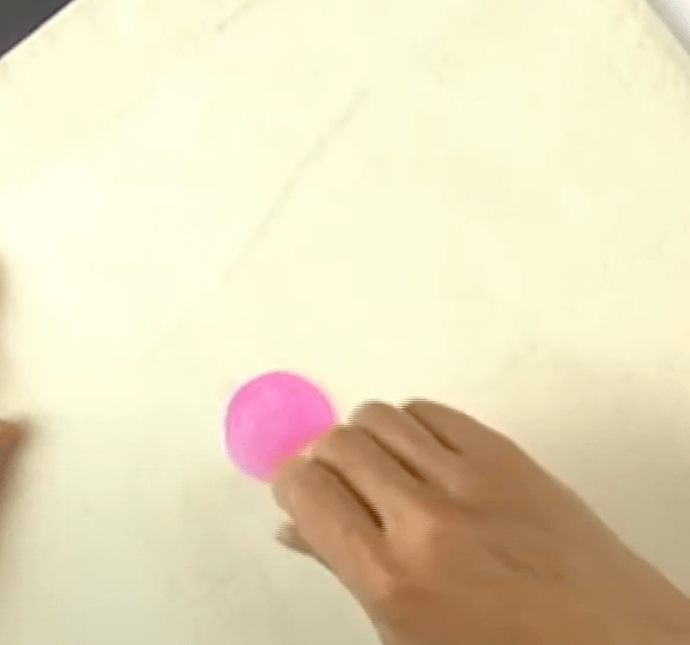
STEP THREE | CREATE PIG HEAD
Use this largest spouncer and lighter pink paint, create the pig head by spinning the spouncer in a twisting motion and lightly pressing down.
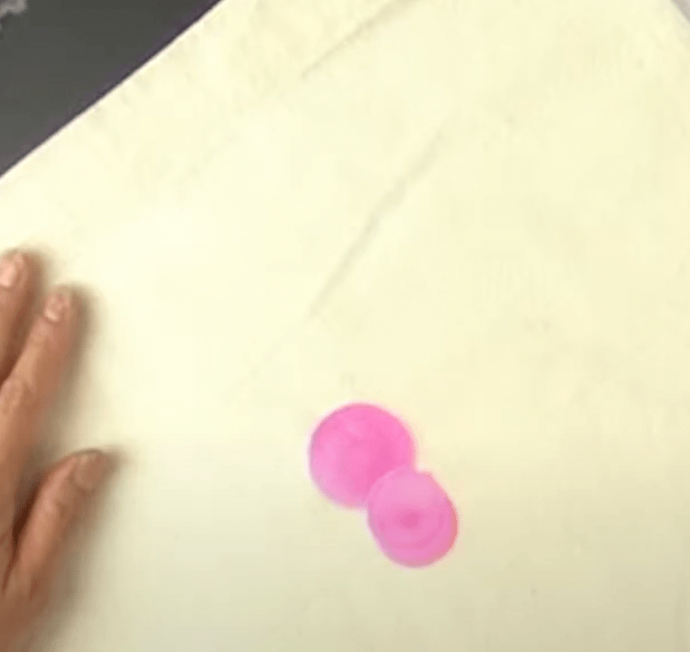
STEP FOUR | CREATE PIG BODY
Use the second largest spouncer, loaded with the lighter pink paint mixed earlier, to create a body shape. Do this by using the same twisting motion as before, but moving the spouncer downwards slightly at the same time to form an oval shape.
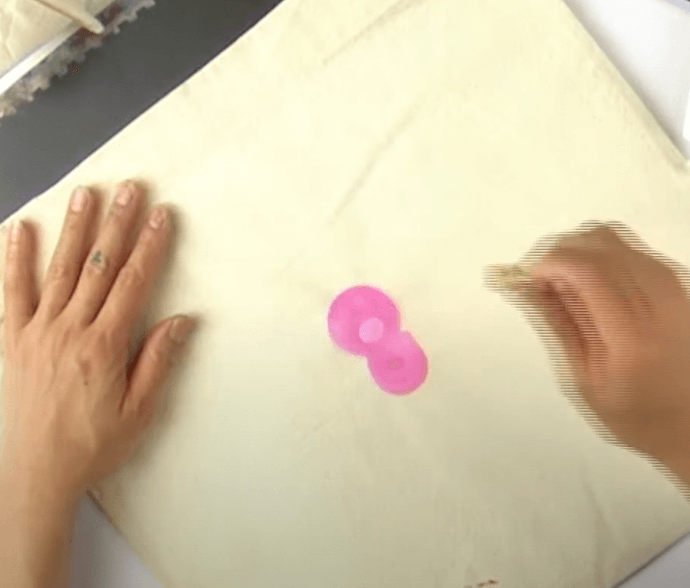
STEP FIVE | CREATE PIG NOSE
Use the smallest spouncer to mix more white paint into the pink colour created earlier. Use this lightest shade of pink and smallest spouncer to create a small circle at the bottom of the head, creating the nose base for the pig.
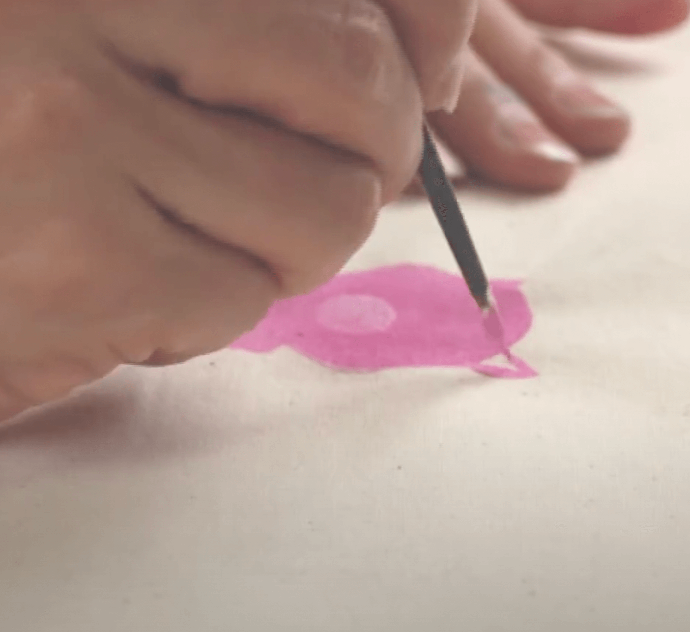
STEP SIX | CREATE PIG EARS
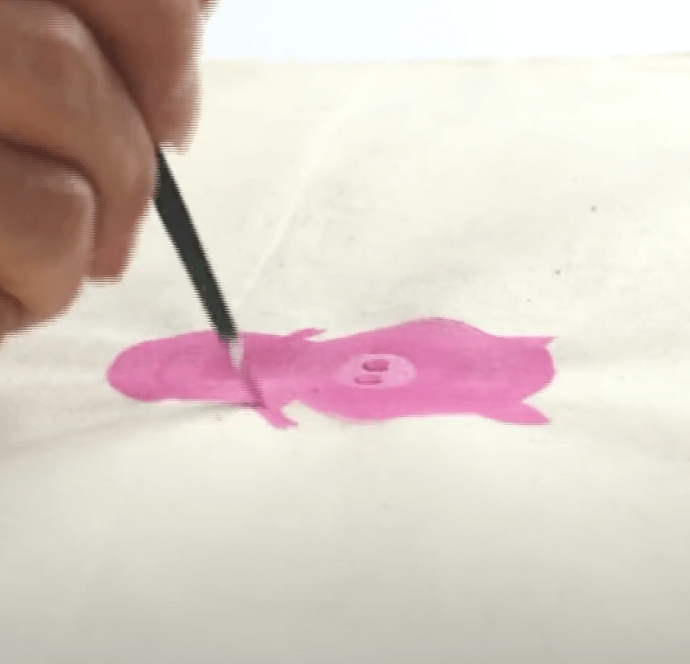
Use a small round brush and the same pink used for the head and body to create two small triangular shapes on the head to create ears for the pig.
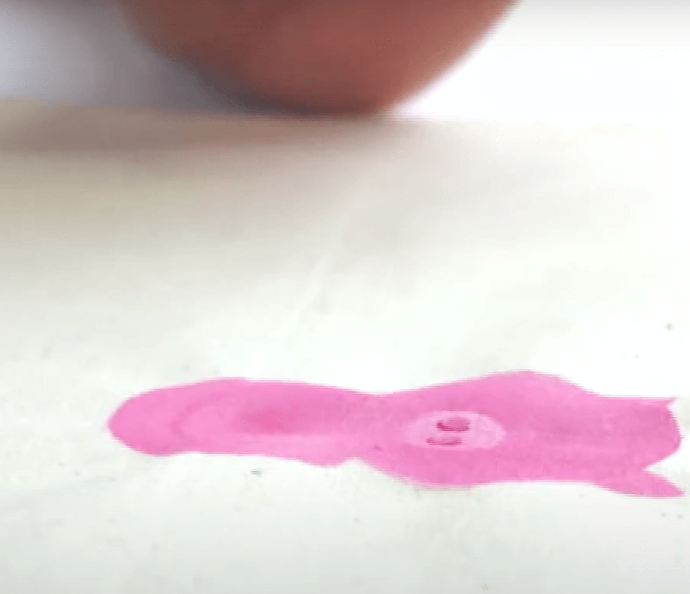
STEP SEVEN | ADD PIGGY NOSTRILS
Dip the non-sponge end of the smallest spouncer into the magenta paint and then dab two dots next to each other onto the pig's nose to create nostrils.
STEP EIGHT | CREATE FRONT ARMS
Use the brush from earlier and the first pink paint used for the head and body to create small front legs on either side of the body.
STEP NINE | CREATE BACK LEGS
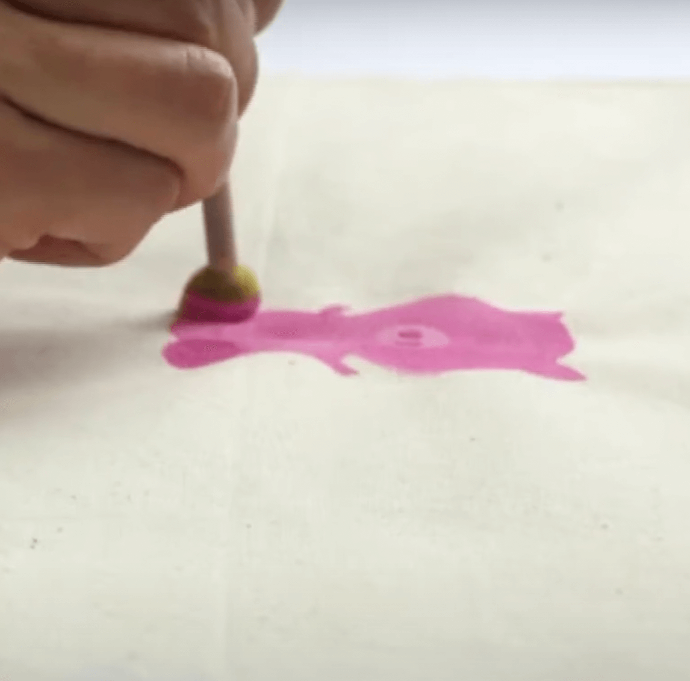
Dip the smallest spouncer in magenta paint and then create back legs for your piggy by twisting the spouncer to make circles at the bottom of the body, on either side.
STEP TEN | ADD EYES
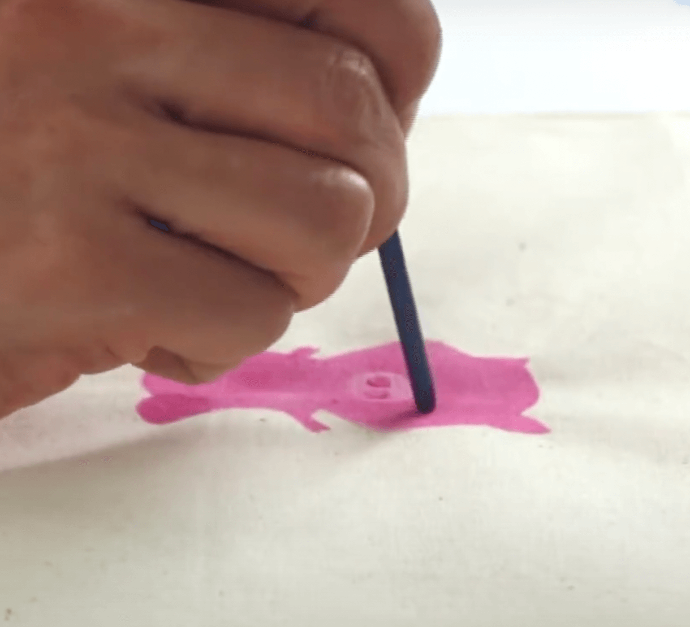
Using the non-bristle end of the brush and dipping it in black paint, dot two small eyes onto the pig's face.
STEP ELEVEN | CREATE THE BACKGROUND
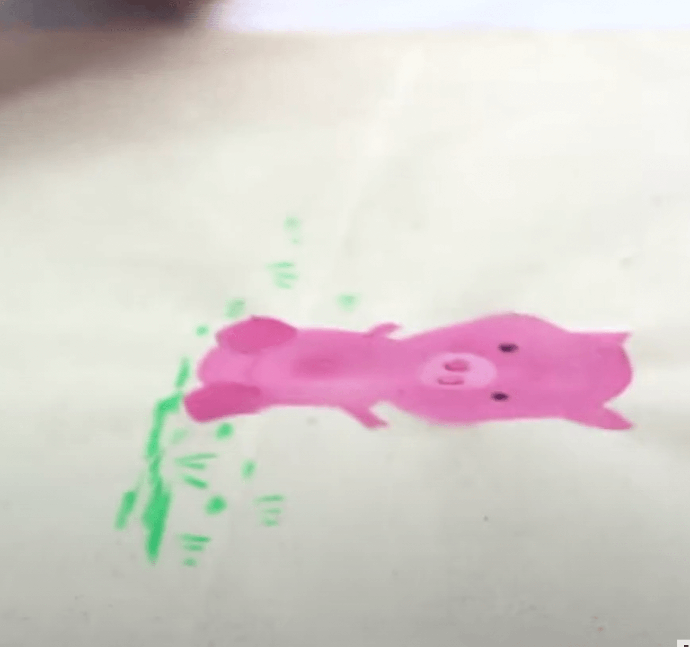
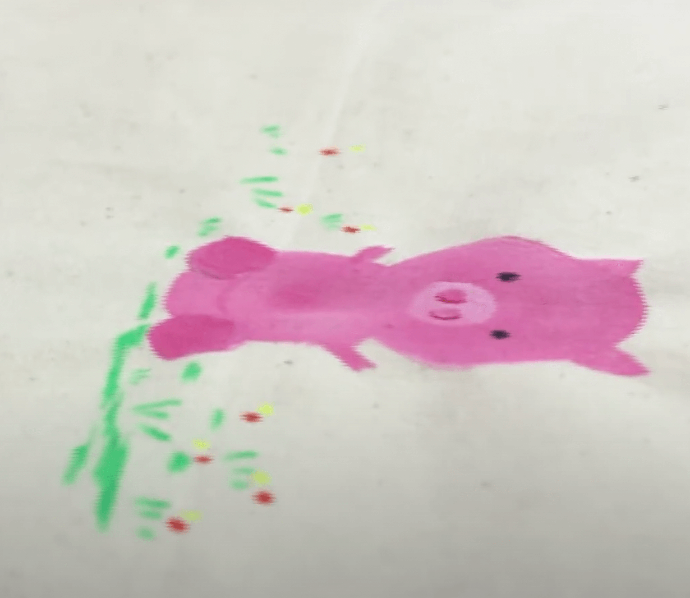
Using the green fabric marker, create little tufts of grass and a ground for your little pig to sit on.
STEP TWELVE | ADDING DETAIL
You can add extra detail by using the pink and yellow markers and dotting flowers around the tufts of grass.
STEP THIRTEEN | SIGNING YOUR WORK
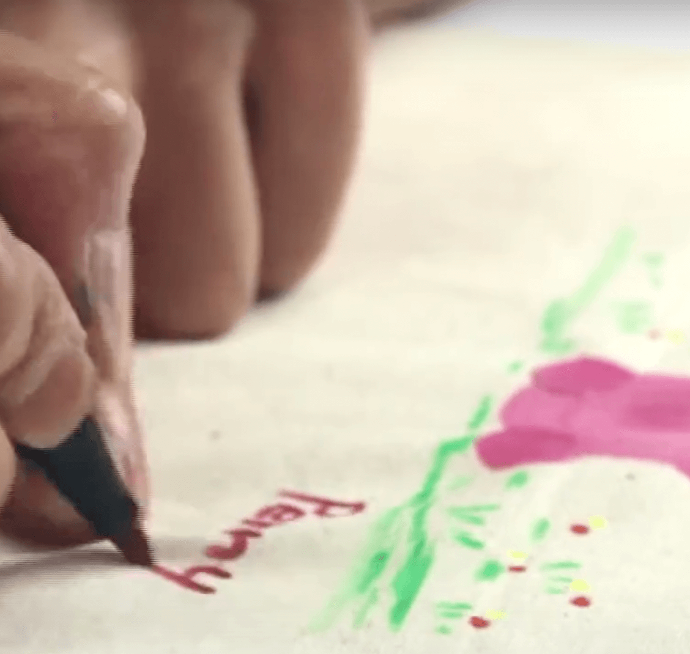
If you'd like, you can use a fabric marker to write your signature next to your design.
For more art and craft inspiration, check out our Derivan Art Project page for more suggestions. We are continuously adding new content to this page to give you new ideas for your next project.