WATERCOLOUR PROJECT
Watercolour flowers
STEP BY STEP BIRD OF PARADISE PROJECT
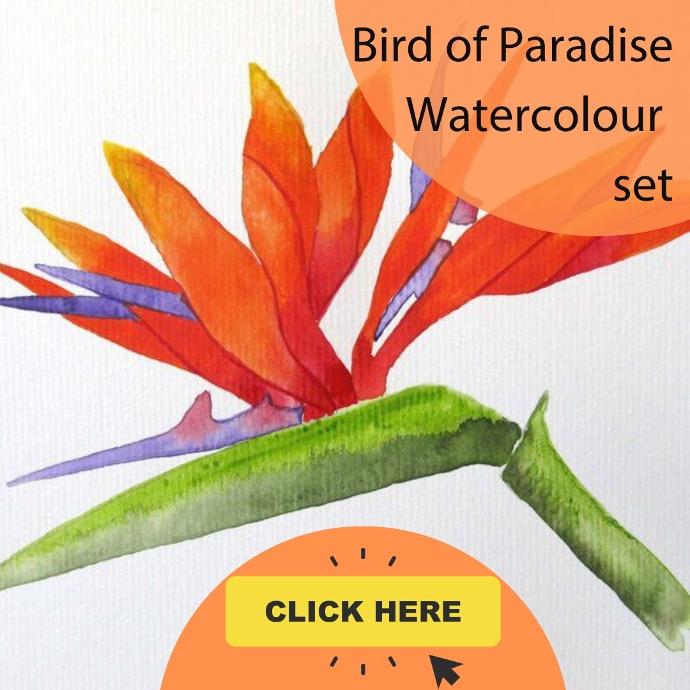
This watercolour project is suitable for beginners wanting to learn how to paint a flower, learn to paint with watercolours by practising with this sensational watercolour project painting this flamboyant, majestic, tropical bird of paradise
Use watercolours to create this beautiful botanical-style artwork.
YOU WILL NEED
• Downloadable artwork template*.
• 1 Sheet of watercolour paper (250gsm or more).
• 1 x Container for clean water.
• Watercolour paint palette (an ice cube tray is ideal).
• 1 x HB Pencil.
• 1 x Waterproof fine tip black marker.
• Tracing paper or kitchen baking paper.
• Derivan Watercolour in: Australian Sap Green, Australian Leaf Green, Vermilion, Yellow Deep, Crimson, Purple, Phthalo Green, Cadmium Yellow Hue and Purple.
• Round brushes in sizes No.1, No.5 and No.8. (Synthetic or real hair).
CLICK HERE TO DOWNLOAD BIRD OF PARADISE STEPS
CLICK HERE TO DOWNLOAD BIRD OF PARADISE TEMPLATE
BUY WATERCOLOUR PAINTS
LEARN MORE ABOUT WATERCOLOUR PAINTS
STEP ONE | WATERCOLOUR FLOWERS
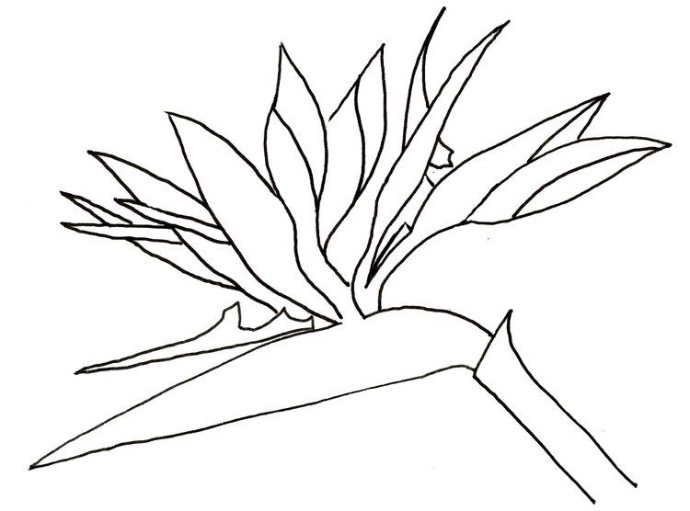
Using the template and HB pencil, trace the flower design onto tracing paper then transfer to watercolour paper. Once you are happy with the outline. Go over it with the waterproof black marker.
Place small amounts of the watercolour paint into separate compartments in the palette. Mix with water.
STEP TWO | WATERCOLOUR FLOWERS
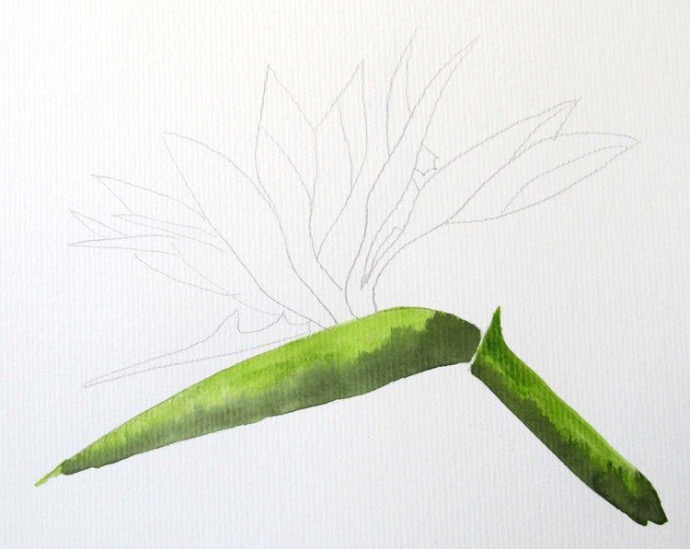
Using the No.8 brush and clean water, wet the main body of the ower. Then use the No.5 brush and Australian Sap Green to paint the upper half. Clean the brush before applying Australian Leaf Green to the lower section of the same area.
Repeat the process on the remainder of the stem.
STEP THREE | WATERCOLOUR FLOWERS
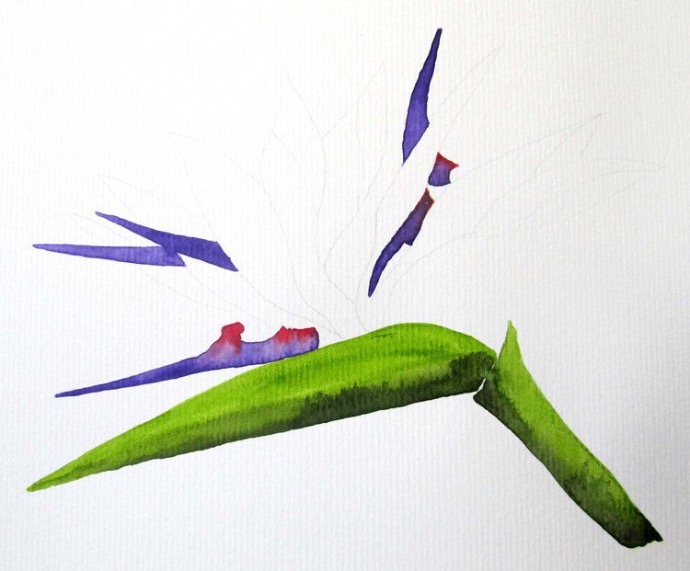
Using the No. 1 brush dipped in purple, start to paint the four purple petals. While the purple is still wet, clean the brush and add touches of Crimson to highlight the area.
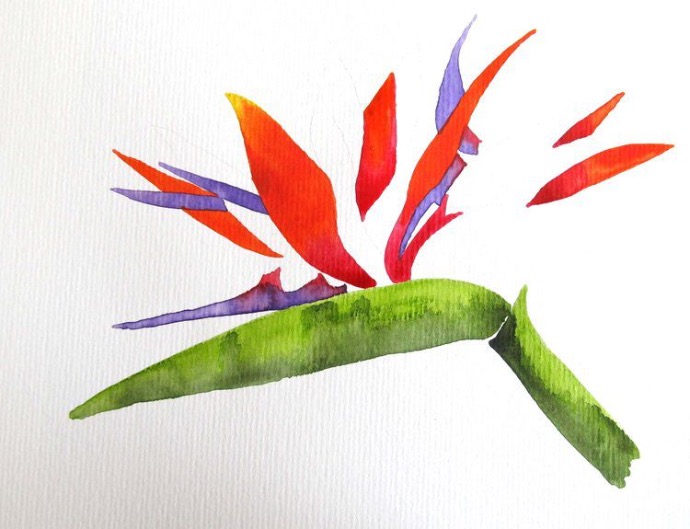
STEP FOUR | WATERCOLOUR FLOWERS
Use the No.5 brush to start painting the orange petals. Be sure to paint alternative petals to avoid the colours blending into each other. Beginning with Crimson, paint the lower half of the inside of the petals. Then use the Vermilion to paint the upper half. Gently blend the two colours together where they meet and allow them to bleed into each other .
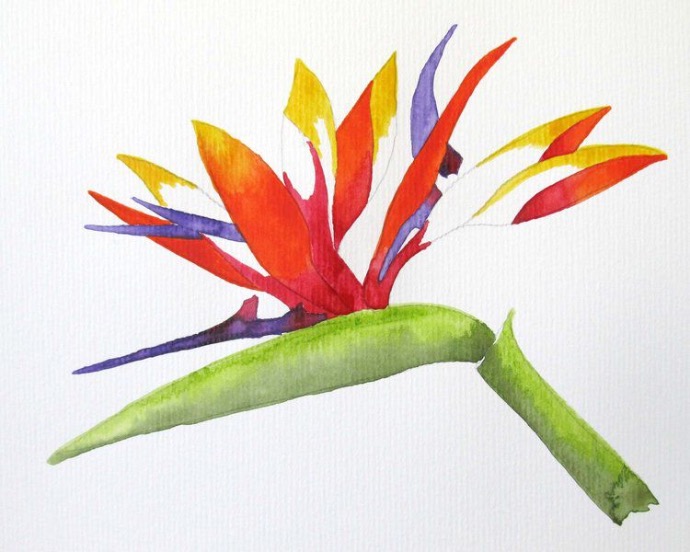
STEP FIVE | WATERCOLOUR FLOWERS
Now paint the outside petals . Paint the lower section with Crimson and the tips in Yellow Deep. While these colours are still wet, paint the middle area with Vermilion and allow all three colours to bleed into each other. Repeat the process until all petals are completed. Allow time for individual petals to dry so they don’t bleed into each other.
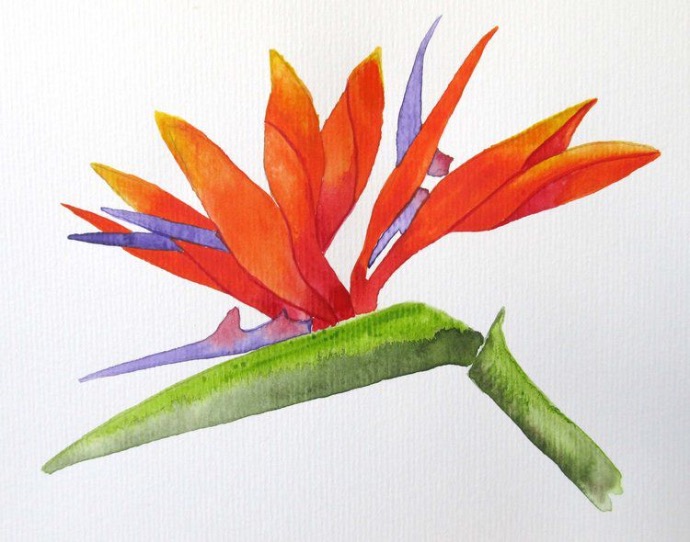
STEP SIX | WATERCOLOUR FLOWERS
When the painting is dry, use the No.1 brush and Crimson, paint lines separating the petals for more de nition. Allow to dry before signing and framing if desired