DIRTY CUP POUR PAINTING TECHNIQUE
Discover the Beauty of the Dirty Cup Pour Painting Technique
Discover the Beauty of the Dirty Cup Pour Painting Technique
Are you seeking a fun and unique way to create beautiful abstract art? Look no further than the dirty cup pour painting technique! This method involves mixing acrylic paints in a cup and then pouring the mixture onto a canvas to create a stunning, marbled effect.
To start a dirty pour, you can gather your supplies: acrylic paints, a canvas, a cup, and a stir stick. Make up your colours fill your refillable bottles, and get ready to get dirty.
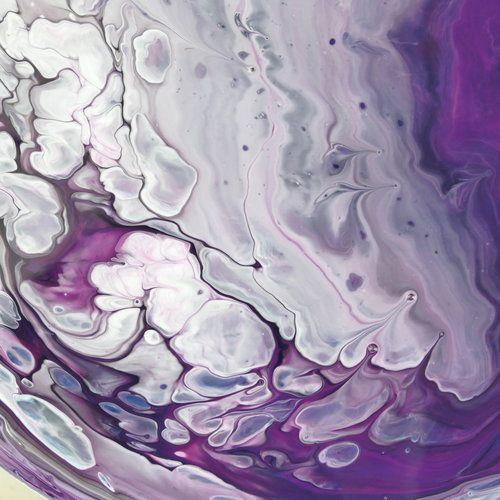
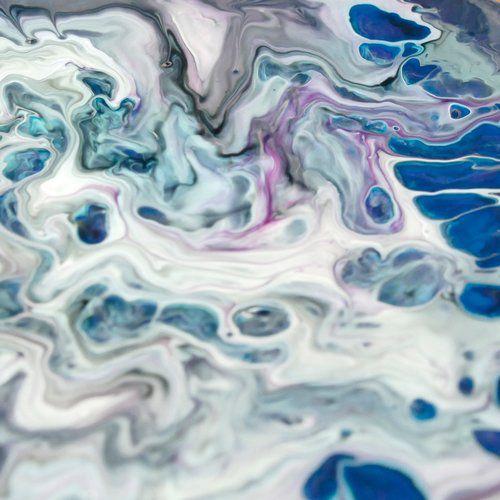
Get Ready to Pour: Supplies You'll Need for a Dirty Cup Pour Painting
If you're ready to dive into the world of dirty cup pour painting, make sure you have these essential supplies on hand:
• Derivan Pouring Medium for a smooth, consistent flow. A 250ml bottle can cover a 40 x 40cm board.
• Acrylic paint or acrylic inks to tint the pouring medium to your desired colours.
• A solid surface to paint on, such as a canvas board or wooden board.
• Several plastic cups (10-20) to mix and pour your paint.
• Plastic gloves to protect your hands from paint and chemicals.
• Disposable craft sticks to stir your paint and medium together.
• Squeeze bottles like Derivan Refillables, which are perfect for controlling the flow of your paint filled with paint and pouring medium
Step one Level Up Your Pouring Game:
Preparing Your Surface for Dirty Cup Pour Painting
Before you begin your dirty cup pour painting, it's essential to make sure your surface is level. This will prevent paint from dripping off the board and ensure a smooth, consistent pour.
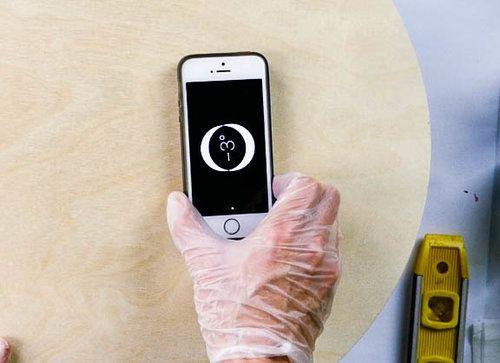
To prepare your surface for a successful pour, use a spirit level to check that it's altogether level. If it's not, adjust the surface elevation until it is. You can use blue tac to help adjust the level.
Did you know your iPhone has a hidden spirit level in the Apple Compass app? Alternatively, try Bubble level 1.4 for Android to check for levelness.
By levelling your surface, you'll be setting yourself up for a successful dirty cup pour painting.
Step Two: Getting Your Dirty Cup Ready
Combining Pre-Mixed Colours for Dirty Acrylic Pour Painting
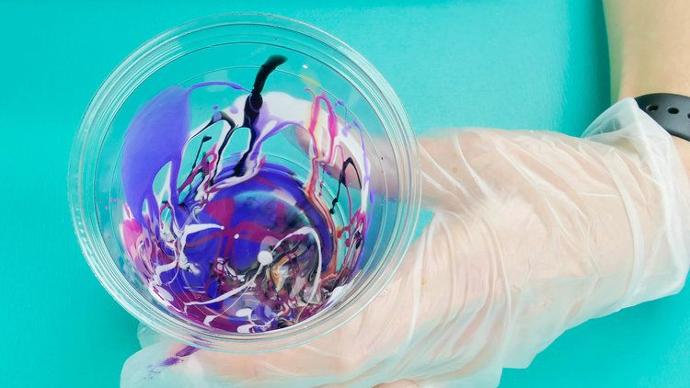
To create a stunning and unique dirty acrylic pour painting, pour a mix of different colours into a cup, layering one colour on top of the other. However, unlike when you mix the colours for your pour, you want to avoid mixing the colours in the cup. Instead, let them sit on each other so that the colours will mix beautifully and unexpectedly when you flip the cup. So, when layering your colours in the cup, please resist the urge to stir or blend them and instead allow the colours to settle naturally. Using this technique in your dirty acrylic pour painting will create a dynamic and multi-layered masterpiece that will impress you.
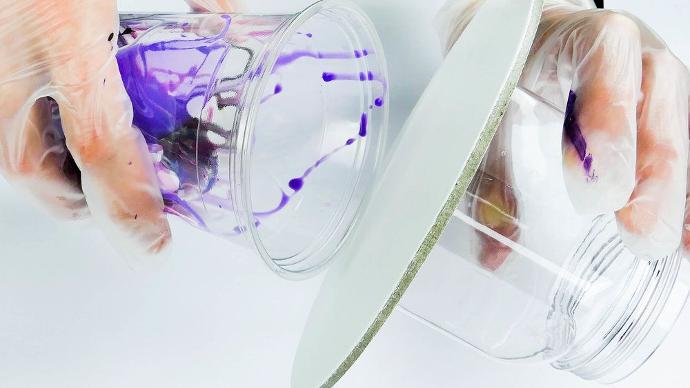
Step 3 Ready to Flip?
Tips for Flipping Your Dirty Cup Pour Painting
Once you've layered your colours in the cup and are prepared to create your dirty cup pour painting, it's time to flip the cup. Here are some tips to help you successfully flip your canvas
- Place your canvas or panel upside down over the top of the cup.
- While holding the cup and panel together, swiftly flip the panel over to its right side.
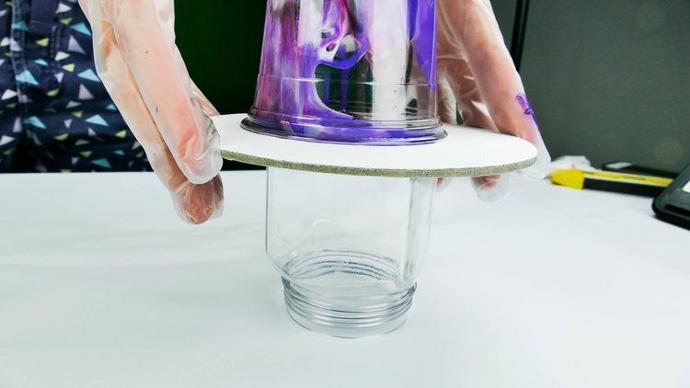
- Place the panel back onto the cups that kept it off the table.
Following these steps, you can create stunning and unexpected colour combinations in your dirty cup pour painting. You'll be flipping like a pro in no time with a little practice!
Step Four: Monitor Your Dirty Pour
After flipping your dirty cup to pour painting, you'll want to ensure the paint doesn't drip off the canvas or surface. To do this, place your surface and the upside-down cup on a jar or similar object that raises it off the table. This will allow you to monitor the painting and make necessary adjustments to prevent dripping or overflow.
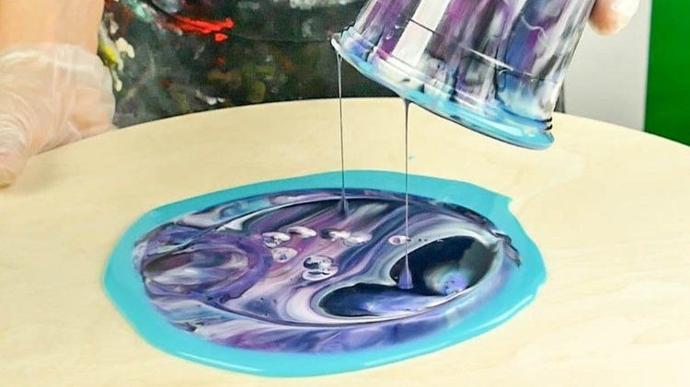
Step Five: Tilt and Clean Your Painting
Once you've poured your colours and monitored your painting, it's time to tilt the board to help the paint move to the edges. This will create beautiful and even coverage on your canvas or surface. After tilting, use your finger to scrape off any excess paint accumulated on the edges of the panel.
Here are the steps to follow:
- Tilt the board to help the paint move to the edges.
- Use your finger to clean any excess paint off the edges of the panel.
- After you've tilted and cleaned your painting, let it dry for 24 hours.
* Leave to dry for 24hours.