STEP-BY-STEP GUIDE TO CREATING A HARLEY QUINN FACE PAINT DESIGN FOR HALLOWEEN OR COSPLAY
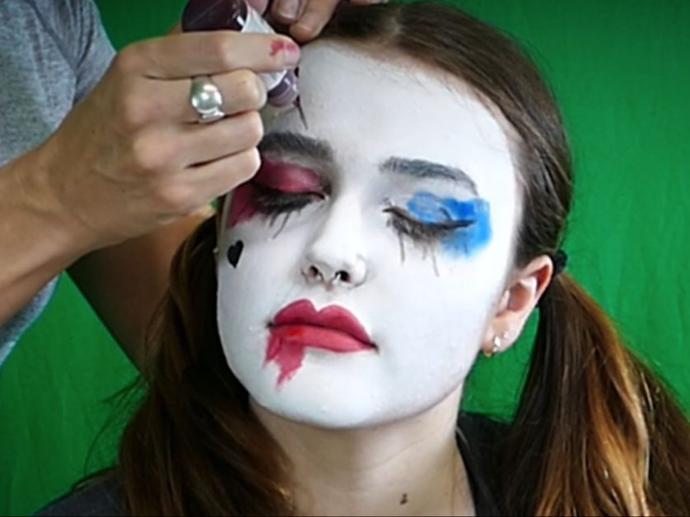
Harley Quinn is one of the most popular characters from the DC Comics universe, known for her quirky and unpredictable personality. If you're looking to bring her to life through face paint, you've come to the right place. This step-by-step guide will show you how to create a Harley Quinn face paint design perfect for Halloween or cosplay. Whether you are a seasoned face painter or a beginner, this tutorial will provide all the information you need to get started.
YOU WILL NEED
Before starting your design, ensure you have all the necessary supplies.
A clean, well-lit workspace
A disposable surface to protect your workspace
A mirror for easy visibility
Mixing palette or plastic plate.
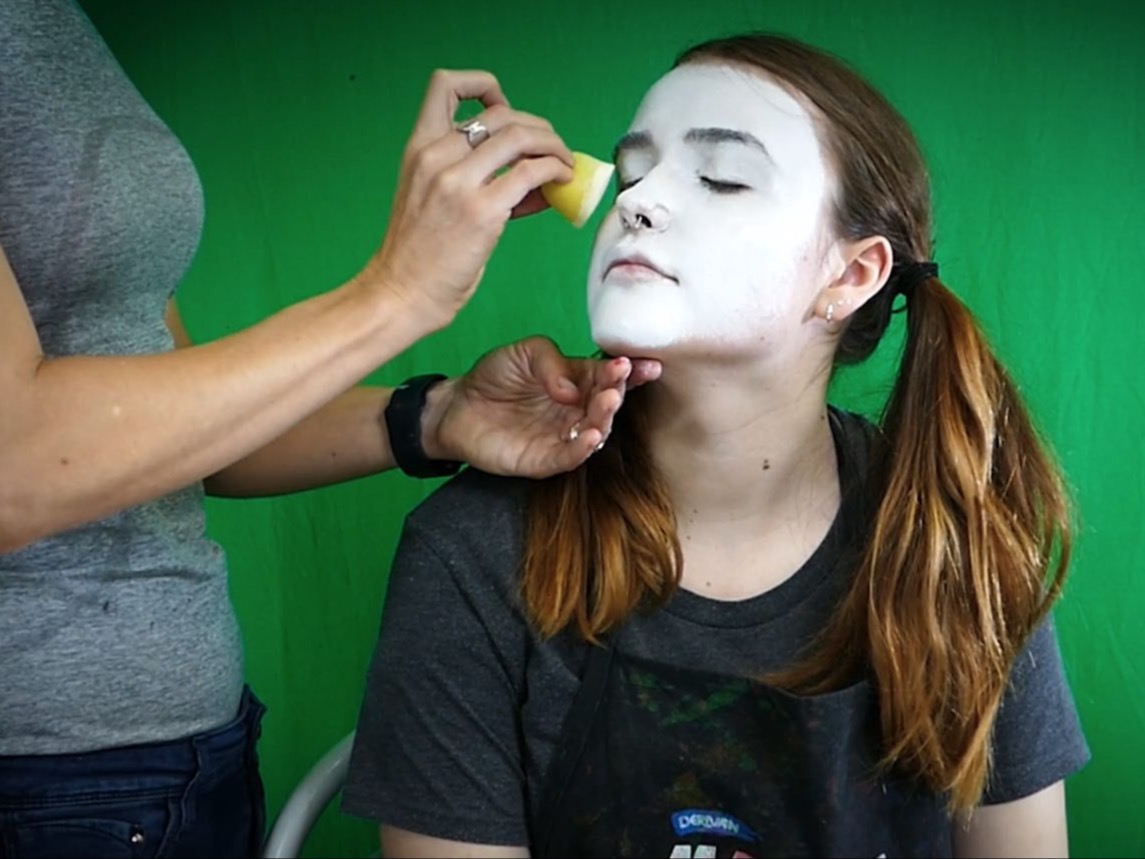
STEP 1 COVER THE FACE WITH WHITE FACE PAINT
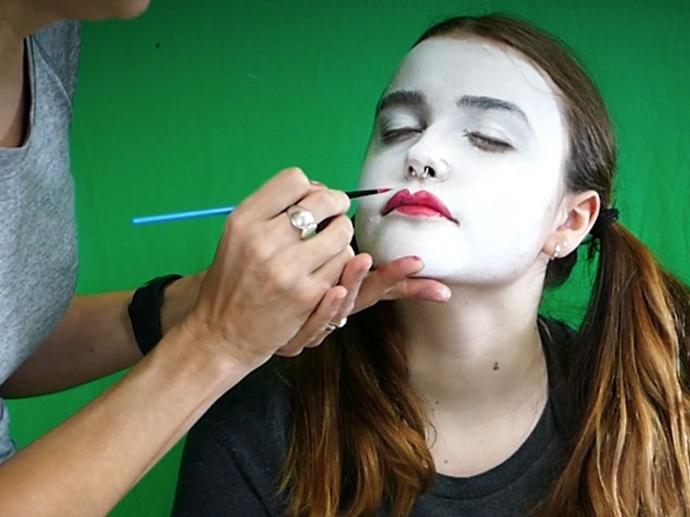
Using a sponge, fully cover the face with white face paint. This will serve as the base for the rest of the design and ensure that the colours show up clearly. Make sure to apply an even layer of paint, covering all areas of the face. Allow the paint to dry completely before moving on to the next step.
STEP 2 APPLY RED FACE PAINT TO THE LIPS
Using a fine brush, apply red face paint to the lips. Start from the centre of the lips and work your way outwards, covering the entire surface. Use a light hand to create a natural look, and feel free to add additional layers for a more dramatic effect. Wait for the paint to dry before moving on to the next step.
STEP 3: APPLY RED FACE PAINT TO THE EDGE OF THE RIGHT EYE
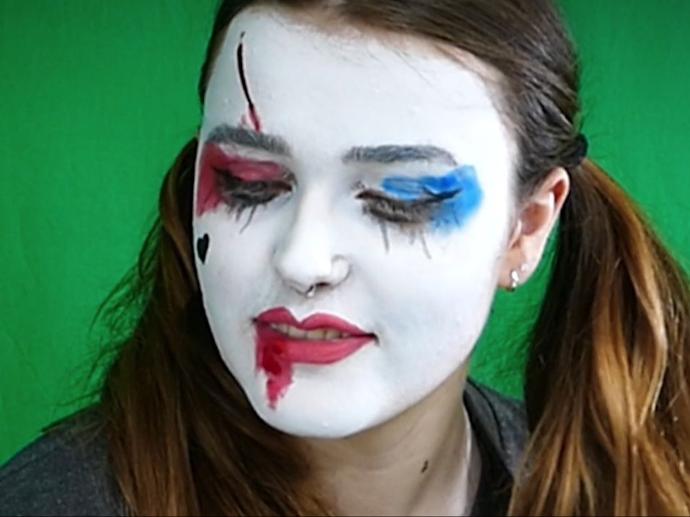
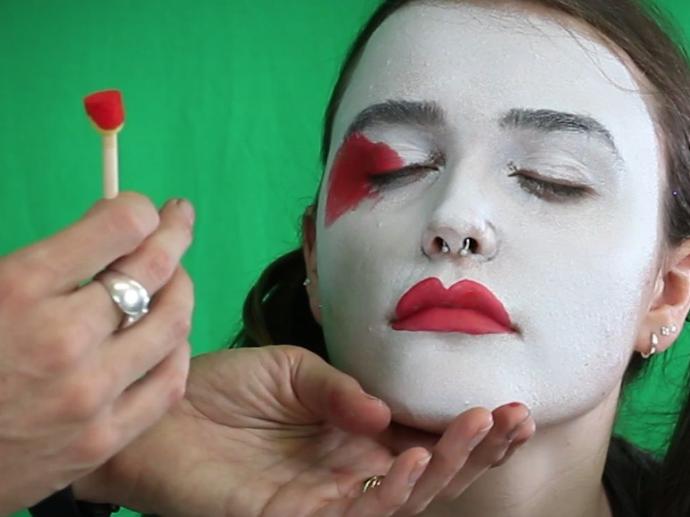
Using a small spouncer, apply red face paint to the edge of the right eye. Then, using your fingertip, smudge the paint to create a smokey effect. This will give the appearance of eyeliner and add to the overall Harley Quinn look. Be sure to blend the paint well to avoid harsh lines and create a seamless look.
STEP 4: APPLY BLUE FACE PAINT TO THE EDGES OF THE LEFT EYE
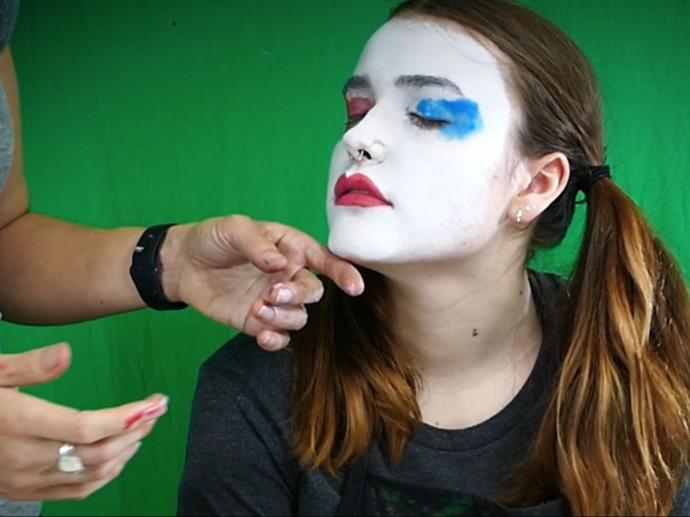
Continuing with the small sponge, apply blue face paint to the edges of the left eye. This will complete the Harley Quinn look by creating a blue and red colour scheme for the eyes. As with the red face paint, be sure to blend the blue paint well to avoid any harsh lines and to create a seamless look. Allow the paint to dry completely before moving on to the next step.
STEP 5: DRAW AND FILL IN A HEART ON THE RIGHT CHEEK
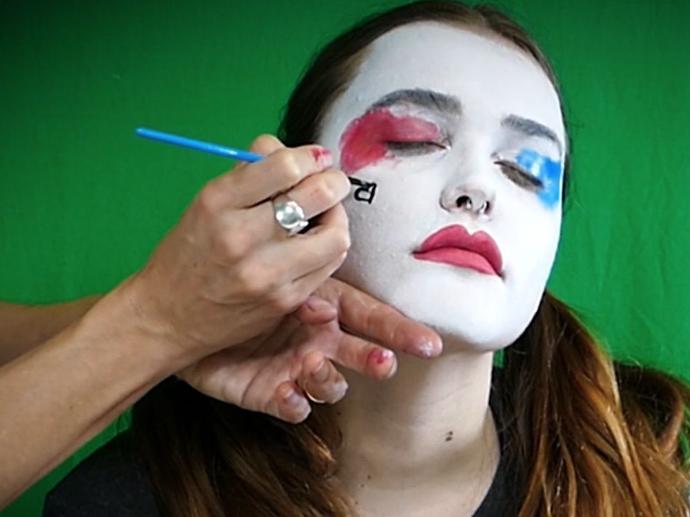
Using a small fine brush, draw a heart on the right cheek and colour it in with black face paint. This will add a fun and playful touch to the overall design and is a nod to Harley Quinn's love for the Joker. Take your time drawing the heart to ensure it's symmetrical and well-proportioned. Once you're happy with the shape, fill it with black paint. Allow the paint to dry completely before moving on to the next step
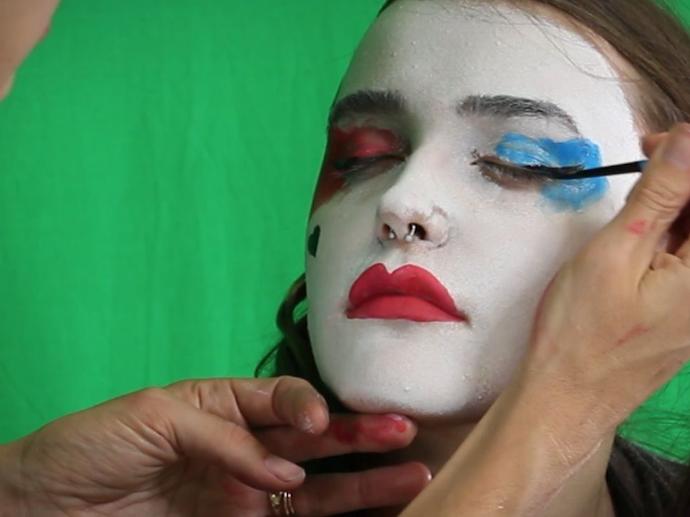
STEP 6: CREATE A CAT EYE WITH THE BLACK FACE PAINT
Using a long liner brush, create a cat eye with black face paint. This will create a playful and mischievous look characteristic of Harley Quinn. Start from the corner of the eye and extend the line outwards, creating a triangular shape. Repeat this on both eyes. Make sure the lines are even and well-proportioned on both sides. Allow the paint to dry completely before moving on to the next step.
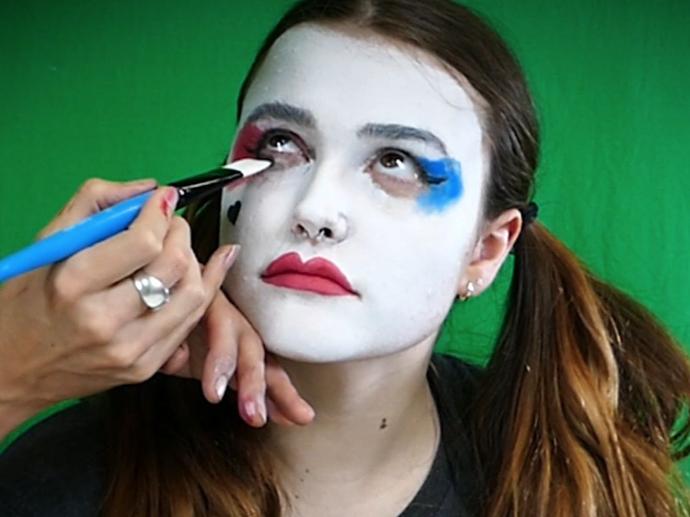
STEP 7: APPLY BLACK FACE PAINT TO THE LOWER EDGES OF THE EYES
Using a large flat brush, apply black face paint to the lower edges of the eyes and smudge with your fingertip. This will create a smoky and dramatic effect and help define the eyes further. Start from the outer corner of the eye and work inward, applying the paint in a sweeping motion. Be sure to blend the paint well to avoid harsh lines and create a seamless look.
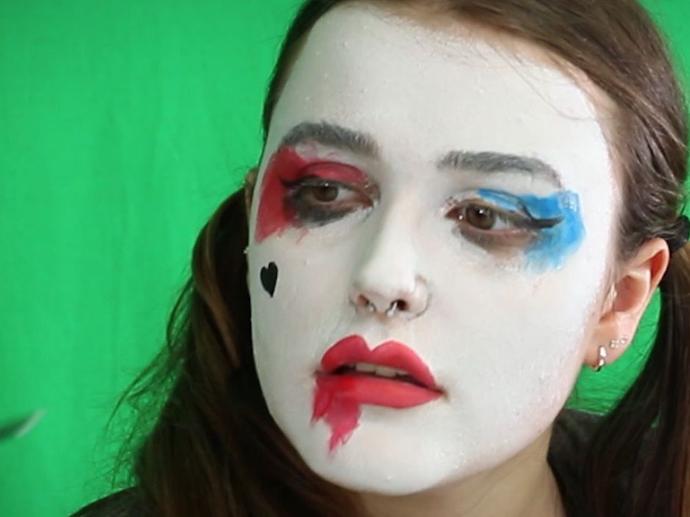
STEP 8: SMUDGE RED FACE PAINT FROM LIPS TO CHIN
Using your finger, apply a little red face paint and smudge it from the lips down towards the chin. This will create a playful and whimsical look and help tie the design together. Start from the lips and work downwards, using a light touch to create a smudged effect.
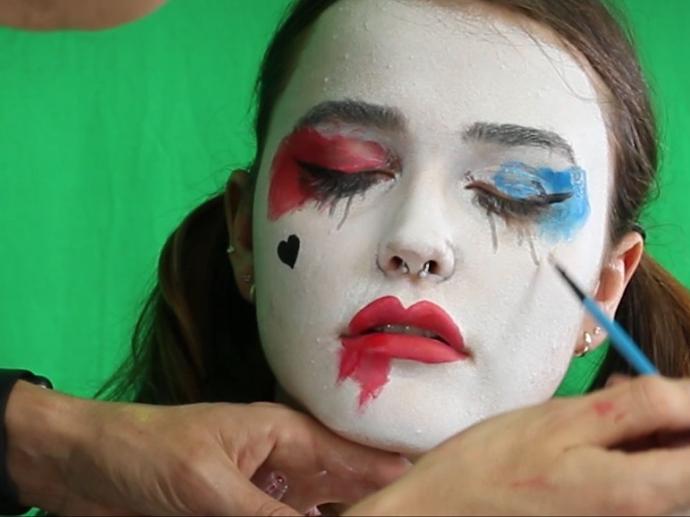
STEP 9: APPLY BLACK FACE PAINT LOOSELY FROM THE EYES TO THE CHEEKS
Using a fine liner brush, apply black face paint loosely from the eyes to the cheeks. This will create a dramatic and bold look that will add to the overall Harley Quinn design. Start from the corner of the eye and work downwards, using loose and sweeping strokes.
STEP 10: TOUCH UP AREAS WITH FAKE BLOOD
Using some Derivan fake blood, touch up areas on the face that need it. This will add a touch of realism and a hint of edginess to the overall design. Be sure to use a small amount of fake blood, and apply it sparingly to avoid overdoing it. The fake blood should be used to enhance the design, not overpower it. .
And there you have it! With these easy-to-follow step-by-step instructions, you can create a stunning Harley Quinn face paint design for Halloween or cosplay. You can bring the iconic character to life using key materials such as face paint, brushes, sponges, and fake blood. Whether a seasoned face painter or a beginner, this tutorial provides all the information you need to get started. So go ahead and show off your new Harley Quinn look to the world
