EGG CARTON PROJECT | UNDER THE SEA
This project is ideal if you're searching for a novel way to upcycle your egg cartons and enjoy quality time with your children. Use Derivan Acrylic Challenge paint for Kids to make cherished art pieces. These fantastic artworks are a fun and easy way to recycle household items and is a great way to inspire creativity and artistic ability.
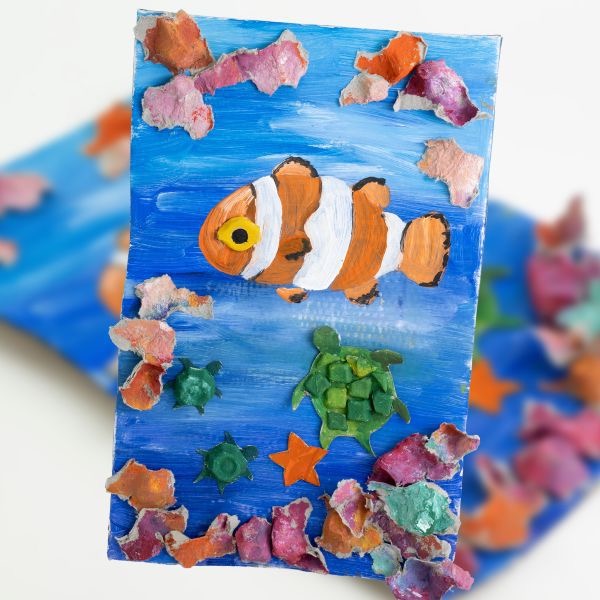
YOU WILL NEED
Before starting your Under The Sea Egg Carton Project, ensure you have all the necessary supplies.
- Drop cloth or newspaper
- Cardboard Box
- Two empty egg cartons
- Derivan Gel Medium 250ml
- Challenge Acrylic Paints - Yellow, Red, Orange, Blue, White and Black
- Brushes
- Palette or plate
- Scissors
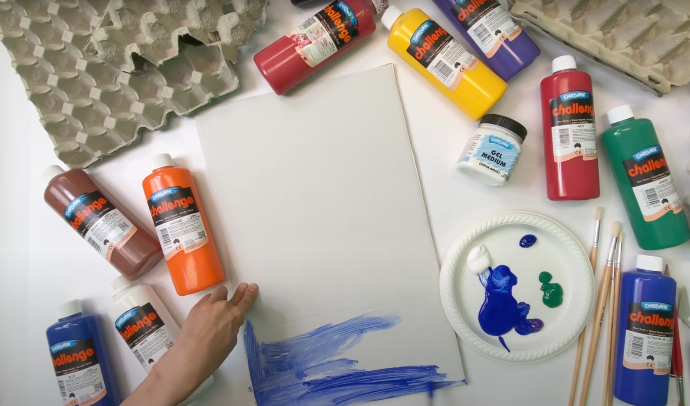
STEP ONE | CREATING AN UNDERWATER BACKGROUND
Ensure your painting area is protected. Apply some blue, green and white to your palette. Starting with the blue paint, make horizontal marks up the cardboard sheet - filling your way up the whole sheet of cardboard.
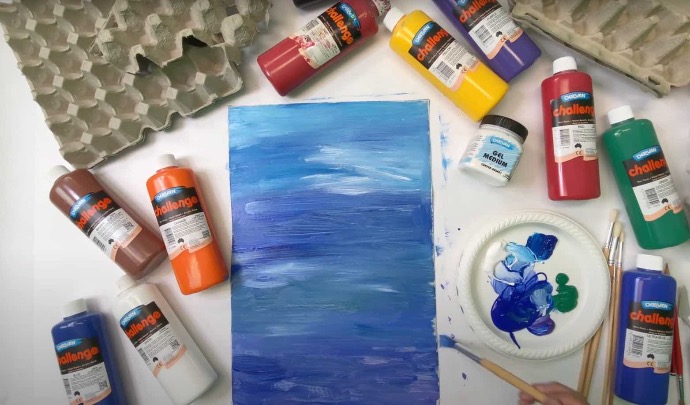
STEP TWO | CREATING DEPTH UNDERWATER
With the paint still wet, continue to make your egg carton art come to life. Add layers of green and white paint from your artist pallets to give it a unique look. Make sure each stroke is horizontal as you are creating a seascape.
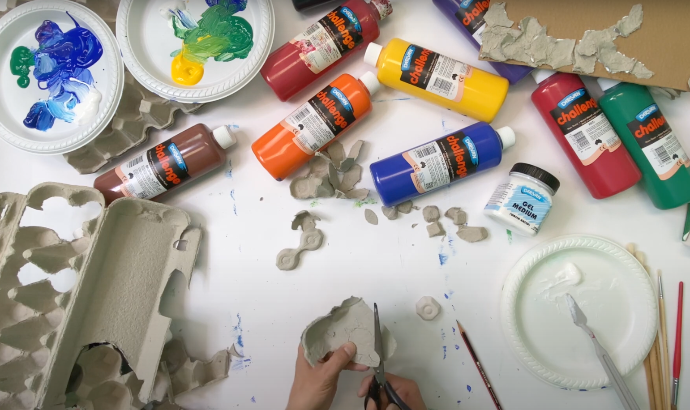
STEP THREE | CREATING A TURTLE BODY
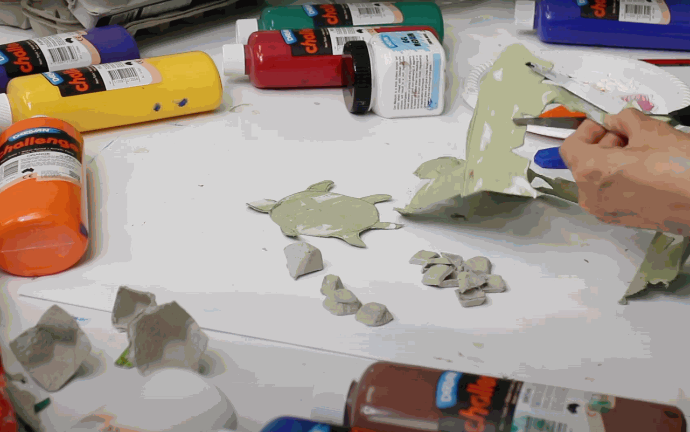
Draw out a simple turtle design onto the flat surface of the egg carton and cut it out with scissors. This can be repeated two or three times to create more sea life for the underwater scene.
STEP FOUR | CREATING THE TURTLES SHELL
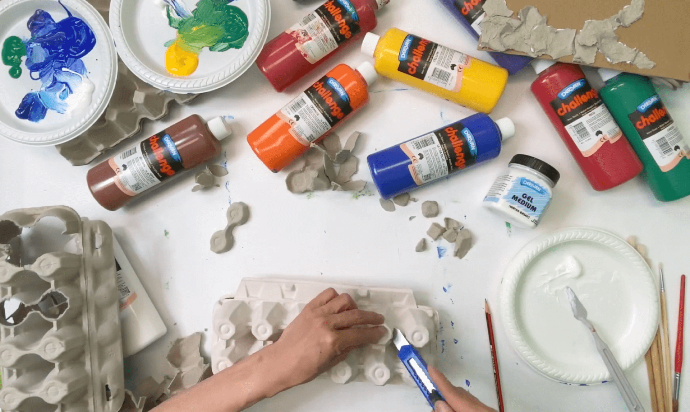
Using a Stanley knife, cut the bottom of one of the individual egg holders to create a turtle shell base. Repeat this step until there are an even amount of turtle bodies and shells.
STEP FIVE | PAINTING THE TURTLES
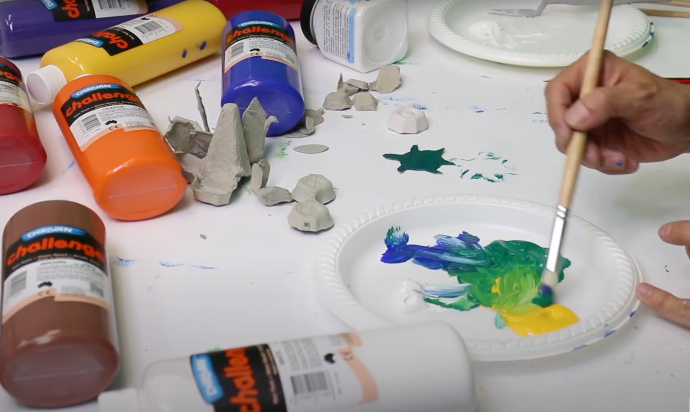
Mix a bright green with Blue, yellow and a little white. Using a brush, colour the turtle body and shell you just cut out.
STEP SIX | CREATING CORAL
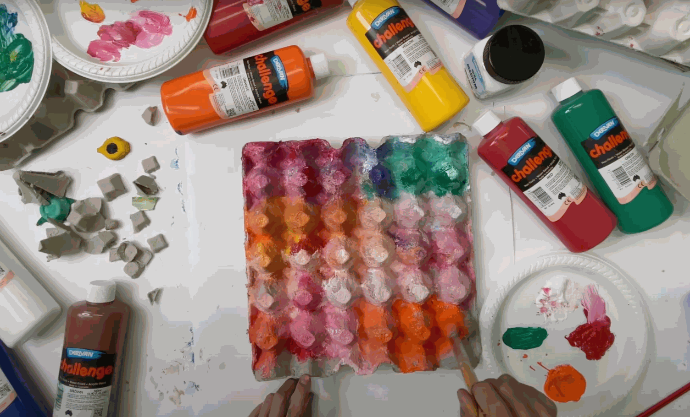
Using green, orange, red and white paint, cover an egg carton like the one used in the photo, creating a collage of colours, though try to avoid mixing the green or blue with the red and orange.
STEP SEVEN | ADDING A CLOWN FISH
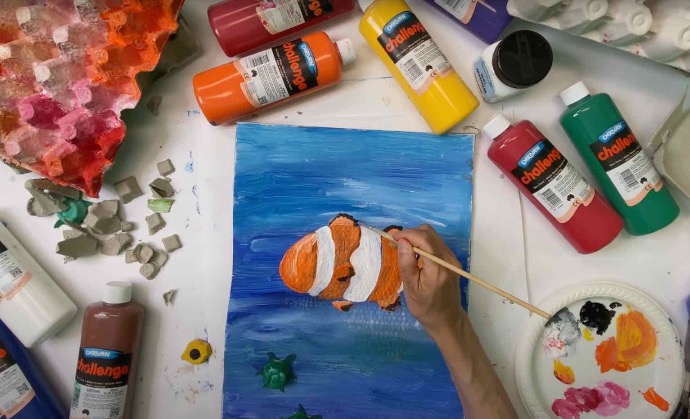
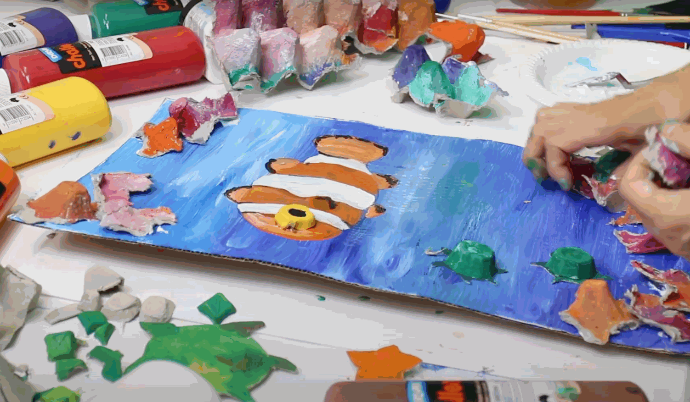
Once the “sea” background is dry, outline your fish design, and paint in the design with white, orange and black on the delicate edges.
STEP EIGHT | CREATING MORE SEA LIFE
Draw and cut out more turtles and other forms of ocean life and paint with the remaining colours.
STEP NINE | ATTACHING DETAILS
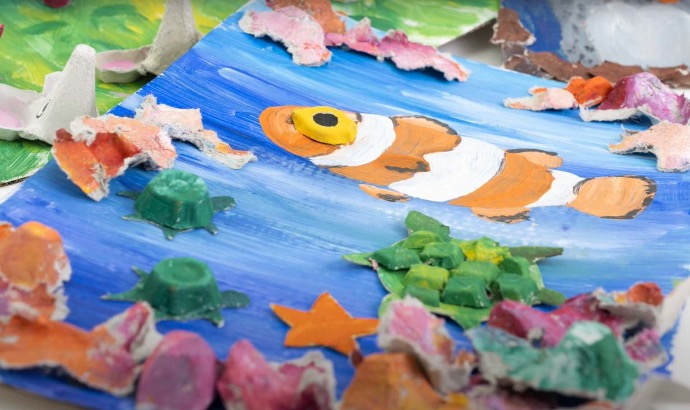
With the Derivan Gel Medium, apply small amounts to the back edges of the turtle and stick to the sea background. Rip up the large sheet of your coloured coral egg carton, continue applying with the gel medium, and stick it around the edges of the frame to contain your under water ocean
STEP TEN | ADMIRING YOUR ARTWORK
And there you have it! A stunning and playful artwork that is perfect for an afternoon creative activity.