FLORAL FACE AND NECKLACE DESIGN
This face paint look is a complex design that highlights the skill and practice required to master the craft, however, fortunately for those who haven't had much, or any, experience with face painting, this guide will provide you with the techniques and information needed to allow anyone to create beautiful floral face and necklace designs with a little practice.

YOU WILL NEED
Before starting your butterfly face paint design, ensure you have all the necessary supplies.
- A clean, well-lit workspace
- Face & Body Butterfly & Flower Set.
- A disposable surface to protect your workspace
- A mirror for easy visibility
- Smock or apron to protect your clothes
- Disposable gloves for cleanliness
You're ready to begin when you’re sure you have all the necessary tools!
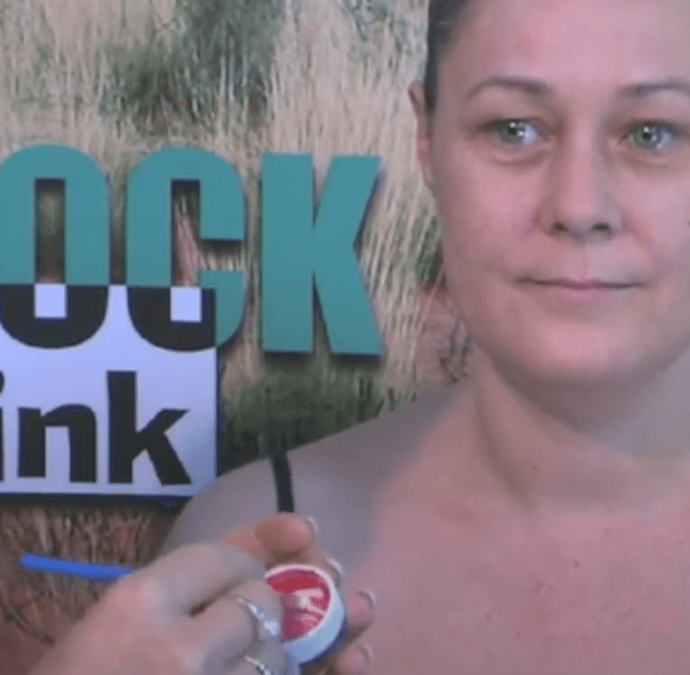
STEP ONE | PREPARING THE BRUSH
To prepare for the flower design, use a round brush and double load it but first dipping it in white paint, then dipping only the end into red paint. Ensure you don't mix the colours together with the brush, just dip it.

STEP TWO | FACE FLOWERS
To create the flower pattern, gently press the brush against the skin so both the red and white paint come into contact with the skin. Then, lift the brush off the skin and you will be left with a gradient petal. Repeat this step five times in a circle, ensuring that the red tip faces outwards each time.
On each side of the face, paint two flowers, and for an extra detail you may include some individual petals on either side of the design, such as above the eyebrow and on the lower cheek towards the jaw line.
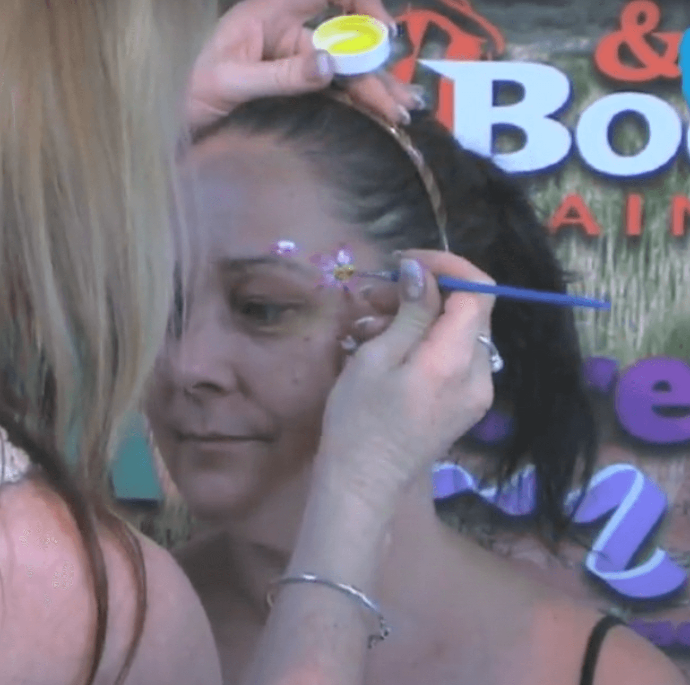
STEP THREE | YELLOW DETAIL
To add extra depth and complexity, use the round brush to apply a small amount of yellow paint to the centre of each flower.
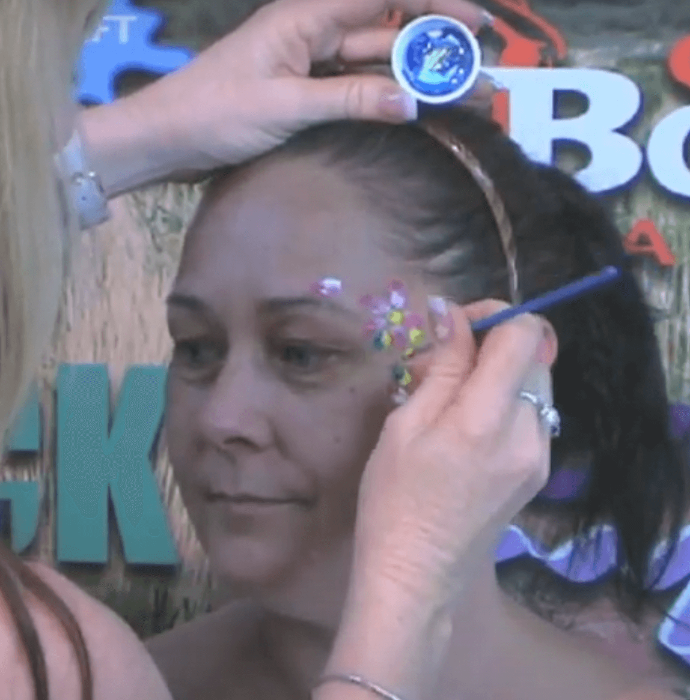
STEP FOUR | LEAVES
Using the same double loading technique outlined above, load the brush firstly with yellow paint, then dip it in blue paint.
Use this to create leaves by pressing and lifting the brush, doing so around the flowers and individual petals. Make sure that the yellow side of the leaves are all facing towards the centre of the closest flower to avoid stray leaves.

STEP FIVE | WHITE DETAILS
Using the round brush loaded with white paint, add small dots throughout the design, between leaving and petals. This adds an interesting factor to the design and creates a more finished look.

STEP SIX | GEM
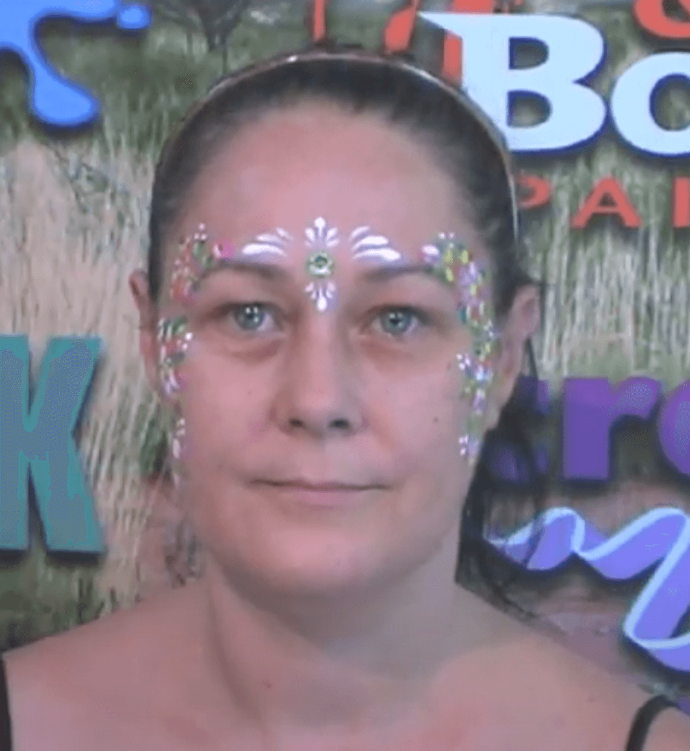
If you want, you can place a gem on the forehead between the eyebrows which will become the base for the tiara-like design on the forehead. If you don't have a gem, a spot of paint or Derivan Kindy Glitz works just as well!
STEP SEVEN | WHITE TIARA
Using the rounded brush, create small strokes that begin above the eyebrows and curve towards the central gem or spot between the eyebrows, ensuring that more pressure is applied to the brush at the beginning of the stroke which is quickly removed, to make a thinner tail.
Repeat this process to recreate the forehead design seen in the photo, or make up your own for a more customised design.
STEP EIGHT | NECKLACE FLOWERS
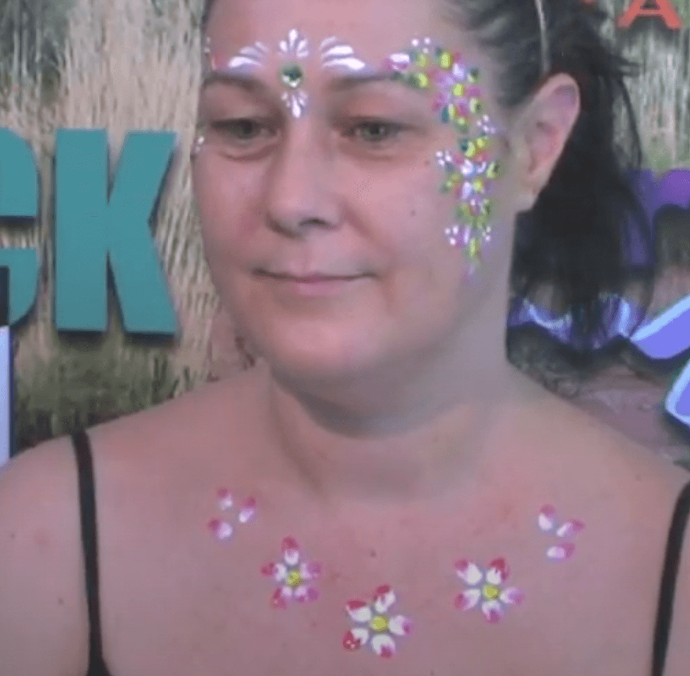
Repeat the process used to double load the brush and paint the flowers used for the face, but this time paint a larger flower in the middle of the chest, and two slightly smaller flowers on either side of the first, but raised upwards slightly. on either side of this design, raised slightly more than the secondary flowers, paint six petals, three on each side, with the red tip of the brush facing away from the centre of the design.
Use the yellow paint and round brush to add the yellow detail to the centre of the three flowers.
STEP NINE | NECKLACE LEAVES
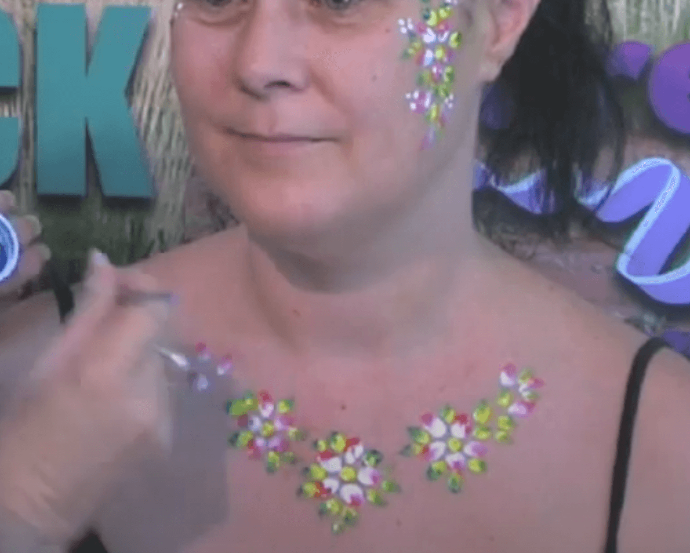
Using the same technique used own the face, double load the brush with yellow and blue and create leaves to fill in some of the spaces between each of the flowers, and between the petals.

STEP TEN | NECKLACE DETAILS
To finish off the design, use the rounded brush and white paint to add small collections of white dots throughout the design, filling in any empty spaces.
On either of of the necklace design create three curved strokes using the technique used for the tiara, and repeat this below the central necklace flower.
These white details are relatively simple but make a huge difference as they will make the design stand out and create a beautiful finished look.
Tips to make your next floral face paint design even better
There are plenty of ways to improve your next floral face paint design. For example, customising the colours of the flowers, or creating multiple layers of petals for the flowers is a great way to create more complex and interesting designs.
Practice your floral designs
As you can see, creating a floral face paint design isn’t difficult, but it does take some practice. If you follow the tips and steps outlined in this guide, you’ll be a pro in no time. With a bit of practice, you’ll be able to easily create beautiful floral face paint designs.
