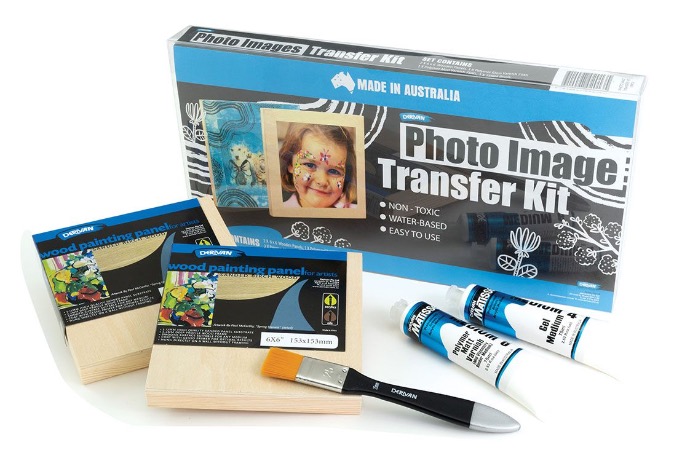
Photo Image Transfer Kit: Transform Your Photos into Unique Artworks
Elevate your memories with our specialised Photo Image Transfer method. Whether you're a beginner or an experienced artist, our step-by-step guide makes it effortless to produce flawless photo image transfers every time.
Unleash your creative potential and enhance your DIY projects using our Photo Image Transfer technique. Say goodbye to mundane decor and generic gifts—start crafting keepsakes that you and your loved ones will cherish forever.
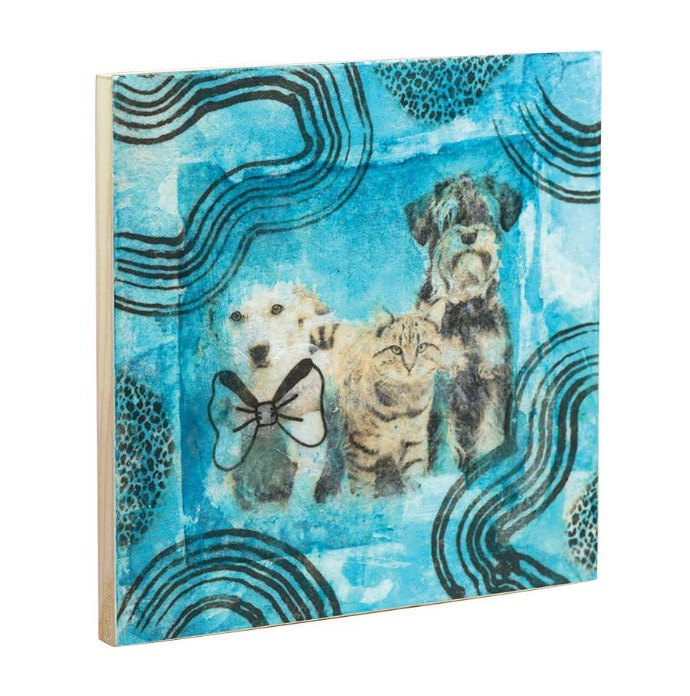
YOU WILL NEED:
- Derivan Gloss Varnish or Derivan Matt Varnish.
- A substrate (Canvas or wooden panel.)
- Brush
- Scissors
- Selected Images (Photocopy laser prints work best)
- Tray to hold water
- A sponge
- Or buy all you need in our Derivan Photo image transfer kit
PHOTO IMAGE TRANSFER KIT
Welcome to the wonderful world of
Image transferring.
The Derivan Craft Set range now includes this new transfer set which is a great way to start creating individual and unique pieces for the home or office. Creating
Image transfers are a great way to experiment with different types of mixed media art works and is an affordable way to get into digital artworks.
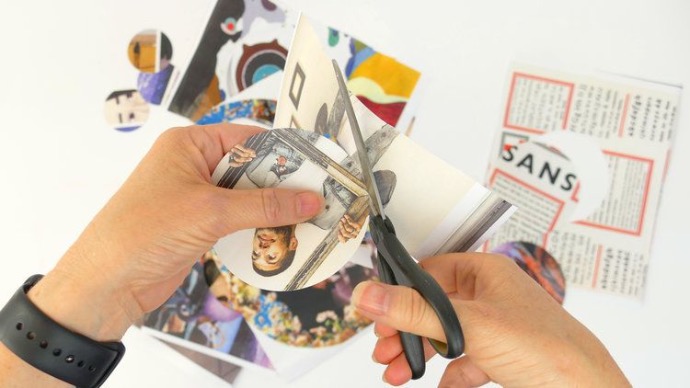
STEP ONE PREPARE THE IMAGE
Start by printing the photo you want to transfer onto a laser photocopy. Ensure that the image is the size and orientation that best showcases your artwork. To add an extra artistic touch, consider cutting the image into a shape that complements your style. In this example, we have cut circles of varying sizes to add visual interest to the piece.
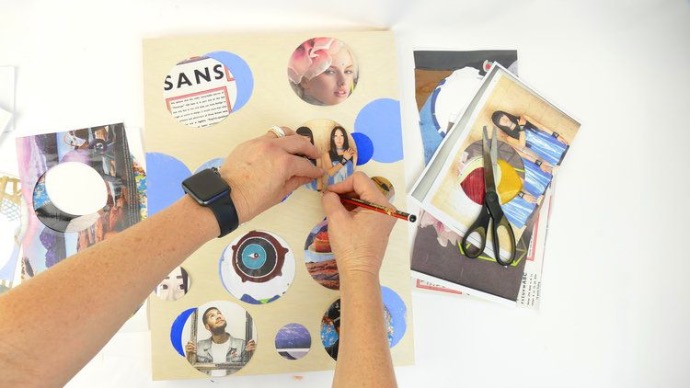
STEP TWO PLAN AND OUTLINE YOUR DESIGN
Design the layout of your artwork and use a pencil (2H) to outline the positioning of your images. Before drawing this outline, take your time deciding on an interesting composition, remembering that the image will be flipped horizontally.
STEP THREE APPLY POLYMER GLOSS VARNISH
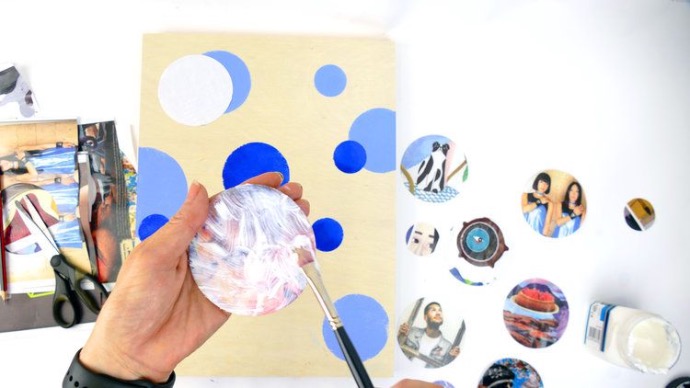
Apply a generous layer of the Derivan Gloss varnish to the front of the image. While it is still wet, place the image face down into the position as drawn out earlier. Allow this to dry out thoroughly (overnight).
STEP FOUR REMOVE THE PAPER
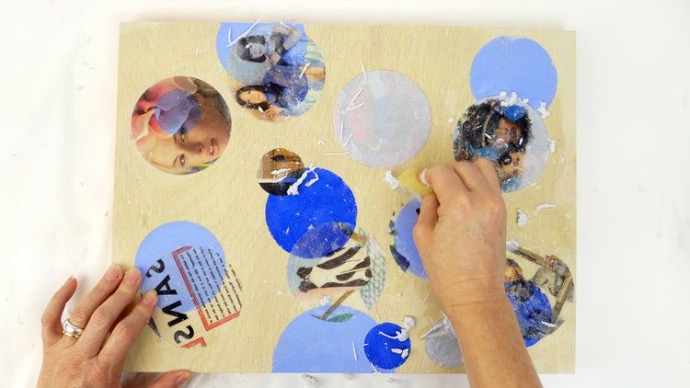
Dampen the dry paper with a wet sponge and let it soak for a few minutes to allow the water to saturate the paper fibers. Gently rub to remove the paper, adding more water if necessary. Repeat this process until the image becomes clearly visible, removing any remaining pulp
STEP FIVE VARNISH YOUR WORK
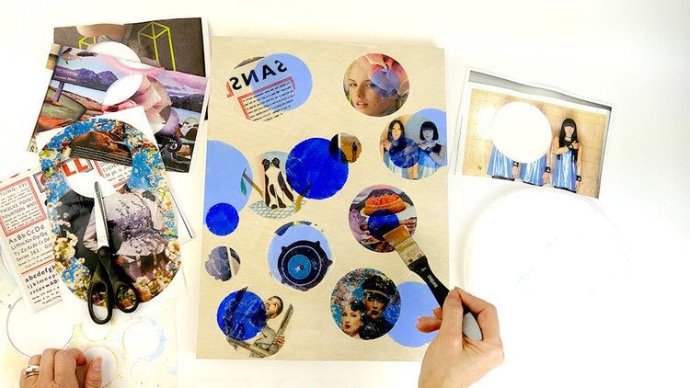
The cloudiness of the image after removing the paper pulp occurs due to the fibres from the paper that may have become embedded in the image during the transfer process. This can cause the image to appear hazy or slightly blurred. Applying a coat of Gloss varnish helps to clear up the image by sealing the fibres and providing a smooth, glossy finish to the transferred image. The varnish can also protect the image.
