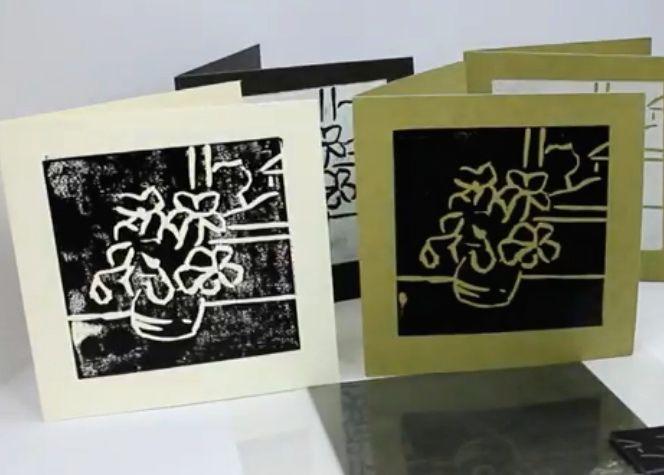
SIMPLE LINO PRINTING CARD PROJECT
YOU WILL NEED
Derivan Block Ink Lino Printing Strarter Kit which contains
50ml Derivan block ink -black, roller, lino carving tool, a piece of lino and a palette knife
Suitable cartridge paper to try out your print on.
Some stiff card to print on.
Hard perspex or suitable surface to roll up ink on

STEP ONE |
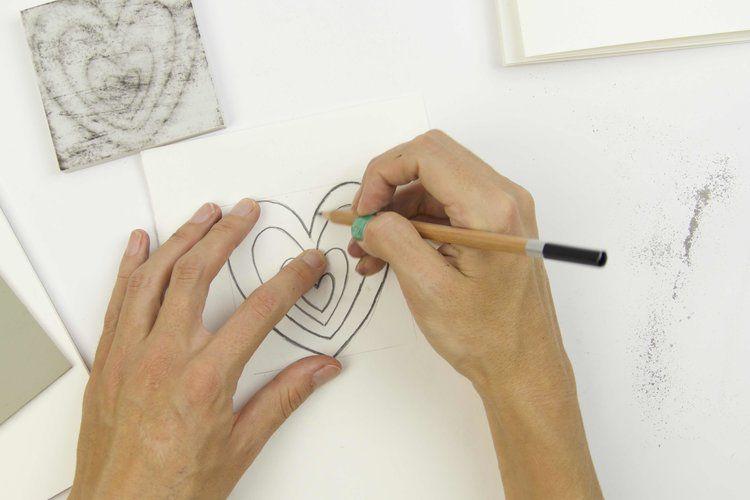
Draw the design onto your piece of lino in pencil. You could use some transfer paper if you have it.
STEP TWO |
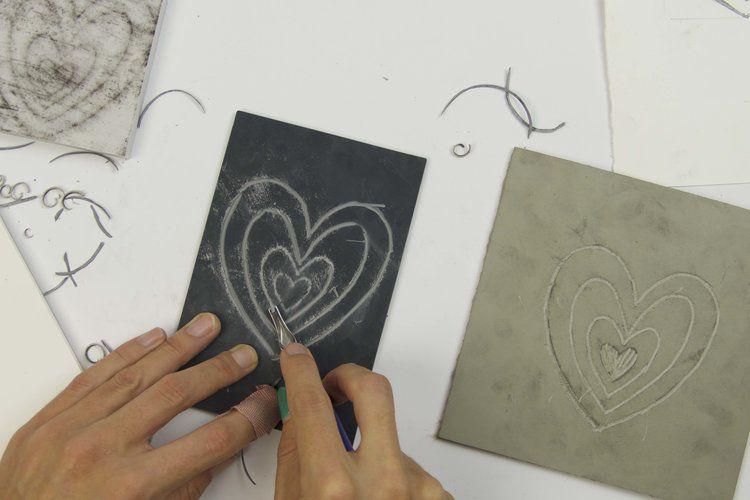
Once you have your design drawn onto the lino you can start to carve it.
Remember the piece of lino that you remove will appear white on the finished print
STEP THREE |
Using the palette knife spread the ink in a line at one end of the perspex;
either top or bottom.
Now take the roller and roll the ink across the surface of the perspex . Repeat this until the film of ink is of a consistent thickness and it starts to sound tacky.
STEP FOUR |
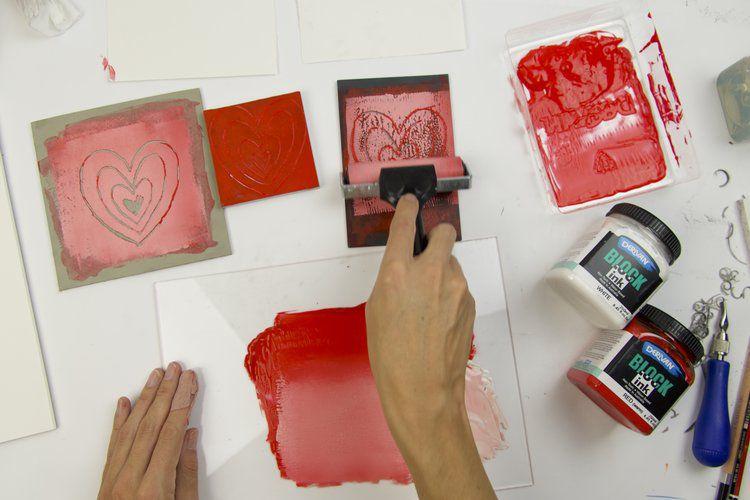
The next step is to transfer the ink from the perspex to the lino using the roller.
Roll over the lino a couple of times until it is completely covered.
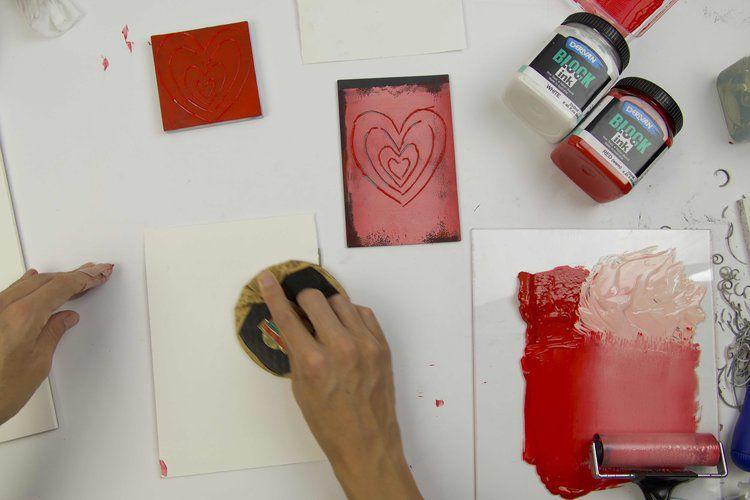
STEP FIVE |
Now carefully place the card onto the lino, and gently rub the back of the
paper with a spoon. Make sure you try to go over the entire piece of card so you don’t miss any of the lino
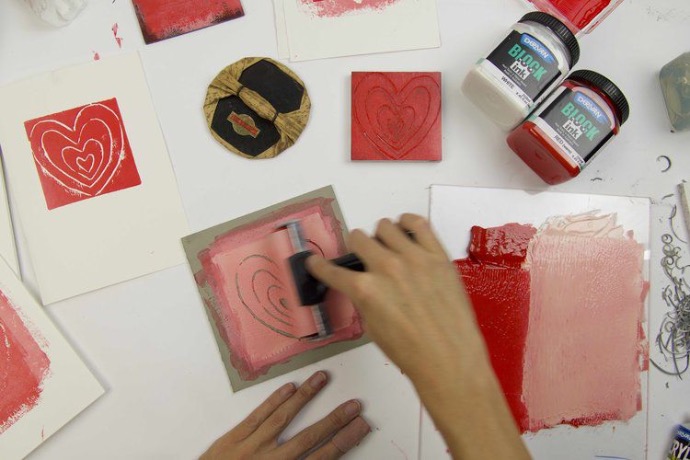
STEP SIX |
Now carefully remove the piece of card from the lino and you should see your image printed onto the card. Place this face up on a flat surface and allow to dry. Once dry you can carefully fold the card. Repeat the process for any additional cards you may have.