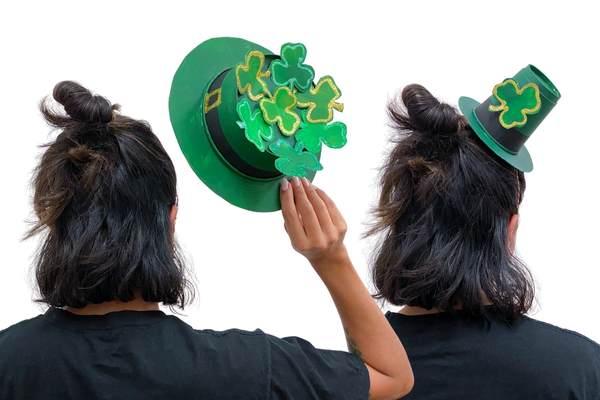
DIY LEPRECHAUN HAT FROM COFFEE CUPS
YOU WILL NEED
Before starting your DIY Leprechaun Hat Project, ensure you have all the necessary supplies.
Drop cloth or newspaper
Cardboard Box
Either an empty cardboard coffee cup or empty round takeaway cardboard bowl.
A dinner plate
Scissors
Pencil
Boxer cutter or Stanley knife.
Sticky tape and string.
STEP 1
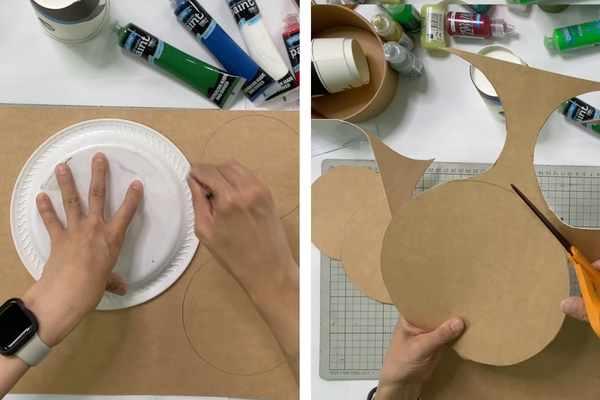
Trace around the edge of a circular dinner plate with a pencil & cut out with scissors.
STEP 2
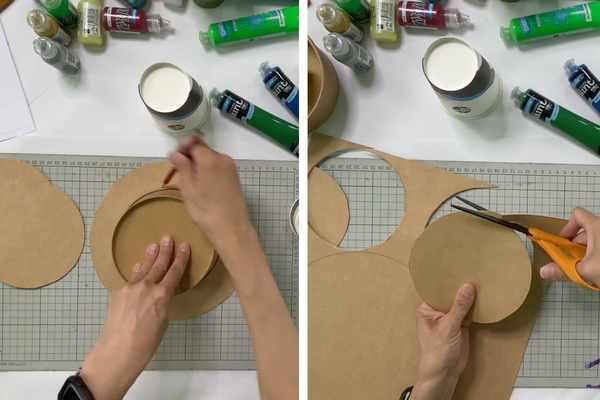
Place a takeaway bowl into the middle of the circle Trace with a pencil for the large hat. also cut out some extra circles for the mini hat.
STEP 3
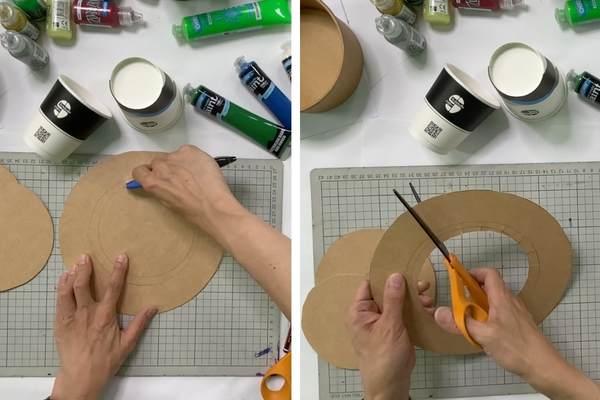
with the smallest circle starts to cut out the inner circle with a blade. Then cut small notches around the inside of the circle with some scissors.
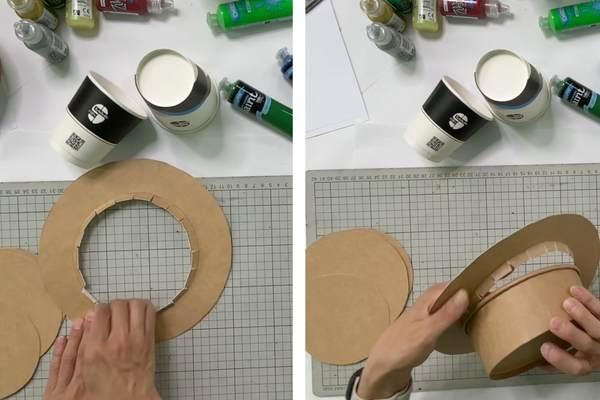
STEP 4
once you have done step 3, test to see how the brim fits into the hat base.
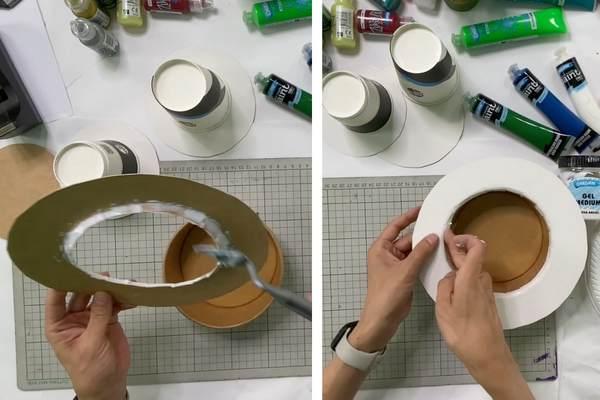
STEP 5
With Derivan Gel Medium and either a palette knife or brush apply around the inner area of the segments and stick to the inner edge of the inside of the hat base.
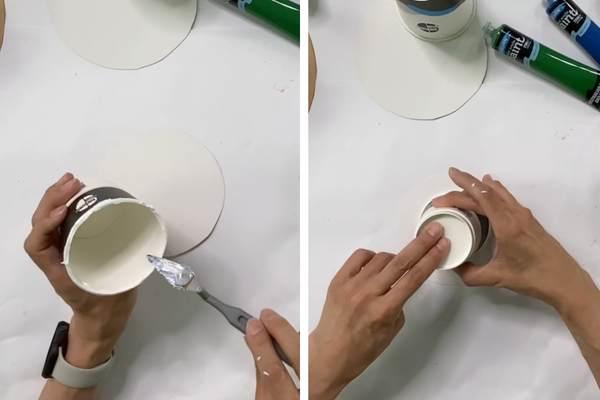
STEP 6
Add some Gel medium to the rim of a cardboard cup and attach to the smaller circle of cardboard to create the rim of the mini hat. Wait for it to dry before continuing.
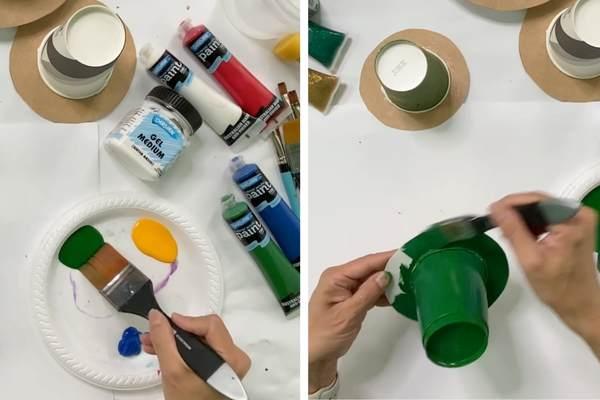
STEP 7
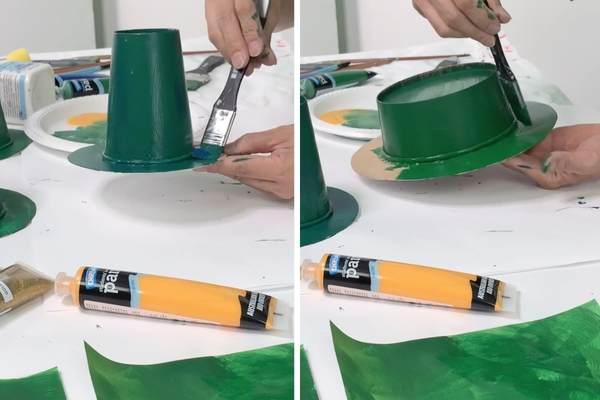
With Derivan Student Green Paint cover the whole of the top of the cup and brim.
STEP 8
continue to do this on the larger hat. Wait till fully dry. Then Paint the base of both hats.
STEP 9
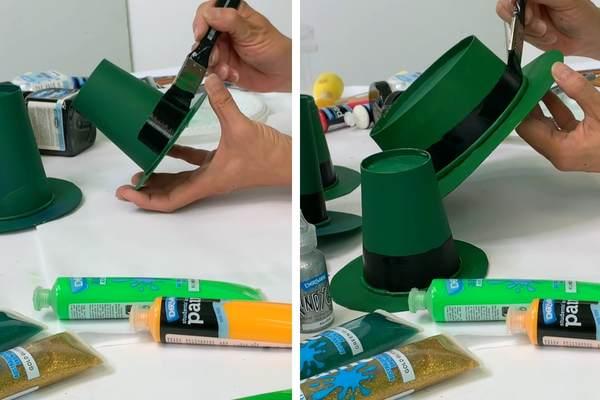
With Derivan Student Acrylic Black paint paint a strip of black around the base of the hat.
STEP 10
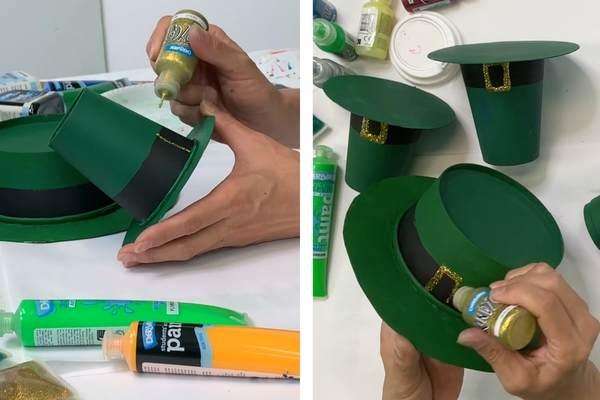
With some Gold Kindy glitz apply the buckle at the front over the black band.
STEP 11
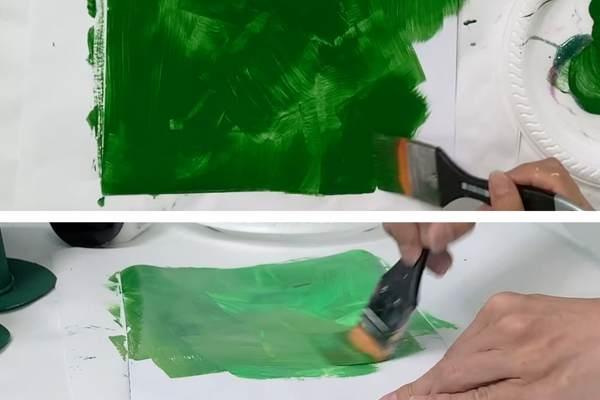
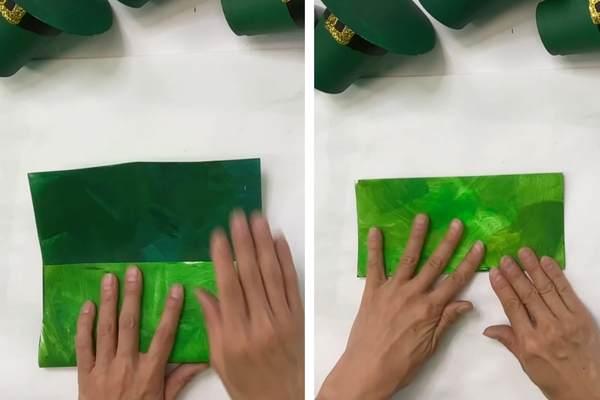
On some sheets of paper or cardboard. Loosely cover the whole sheet with Green paint. Once dry flip over and paint the other side.
STEP 12
Once dry, fold the sheet into 3rds.
STEP 13
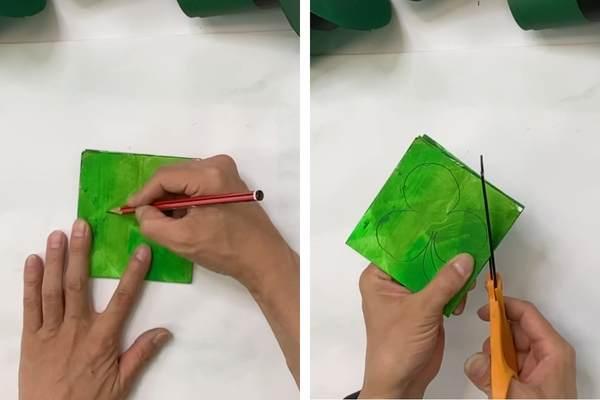
Fold in half once more and with a pencil draw a clover on the top.
STEP 14
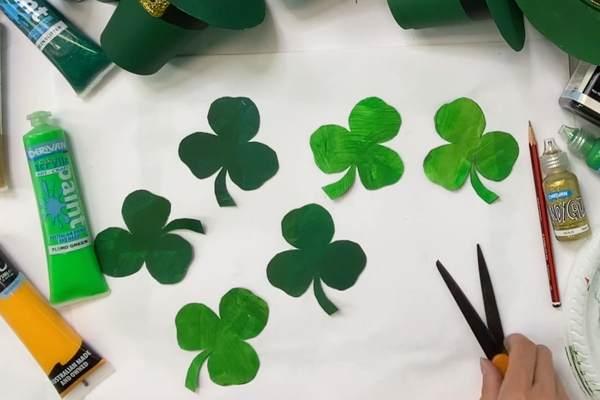
With some scissors cute around the clover shape and separate the layers of the papers.
STEP 15
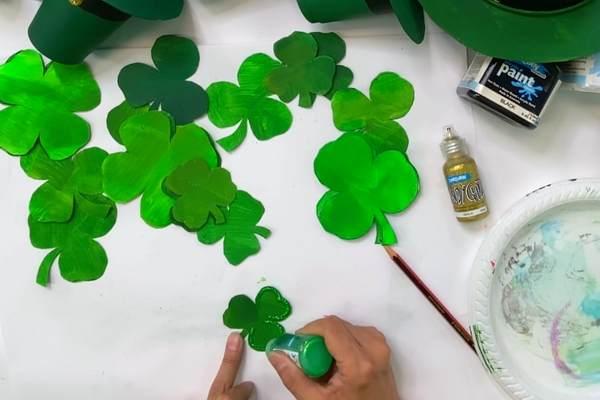
With Green Kindy glitz draw around the edges for the clovers and wait to fully dry.
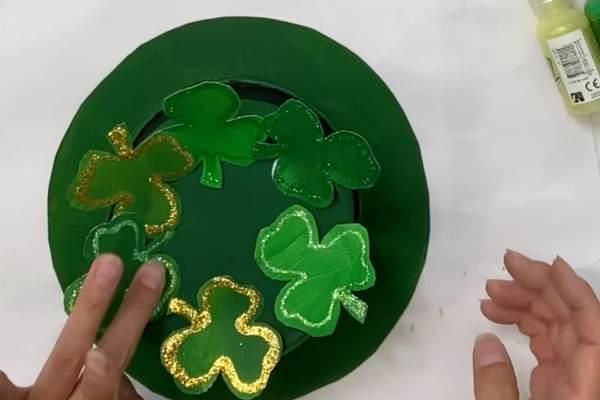
STEP 16
With Gel medium glue on the clovers to the top of the hat.
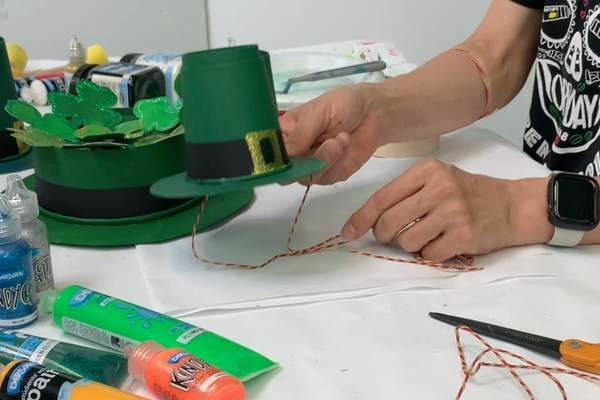
STEP 17
With some sticky tape add some string to the bottom of the hats.
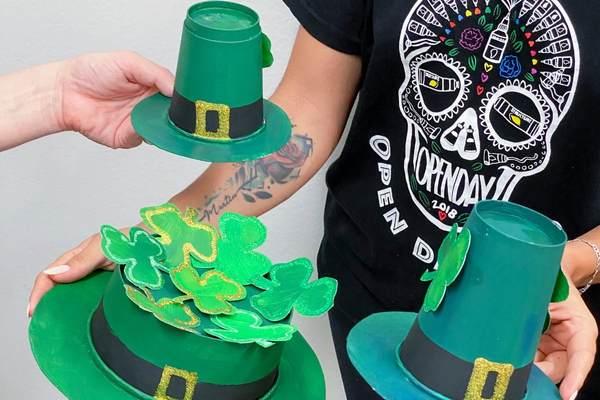
STEP 18
Now you have a collection of wonderful little hats to ware and display to celebrate St. Patricks Day.