
TIE-DYE KIT
Have a tie-dye party and give your partygoers easy access to tons of fun. Colours In this kit are vibrant and stay bold through repeated washes after it has been heat-set with an iron.
We know that you might be looking for ways to tie dye, so look no further!
How many tie-dye T-shirts can I make with one kit?
This kit has everything you need to colour 8 small T-shirts, children's size 12.
BUY TIE-DYE KIT NOW
TIE-DYE KIT TIPS AND TRICKS
If you want to tie-dye fabric, then get ready for some fun! Here are the basics that will help keep your project going smoothly. Your Derivan Tie Dye Kit comes with all of these ingredients included, so there's no need to buy anything extra when starting in this new world (or old) of tie-dying clothes and materials alike.
If you’re a fan of tie-dye clothing and want to give it a try, but aren’t quite ready to invest in a whole outfit, a tie-dye pattern is a great way to start. Check out this easy way to create horizontal stripes. The Derivan Tie-Dye Kit is a perfect way to freshen up your wardrobe.
HOW TO CREATE A HORIZONTAL TIE DYE PATTERN
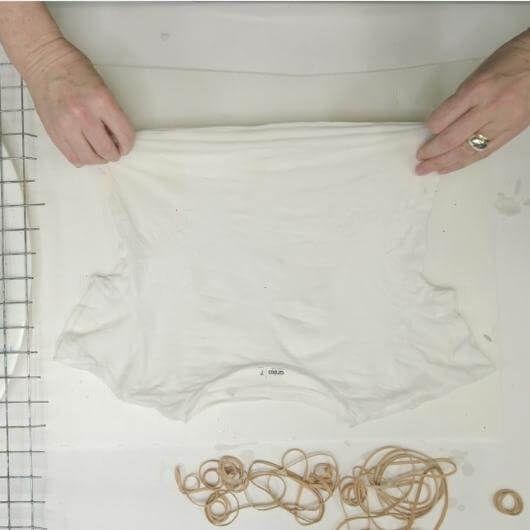
WET AND FOLD
Materials needed to create a tie-dye pattern vary depending on how intricate you’d like your design to be. For this basic fold pattern start with a damp t-shirt lay it flat and start folding the shirt like you are making a paper fan.
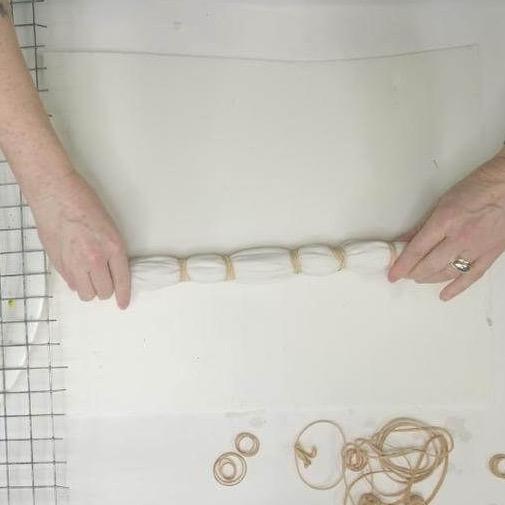
WRAP WITH RUBBER BANDS
Secure the shirt with rubber bands to prevent it from unravelling. Place a band approx every two cm
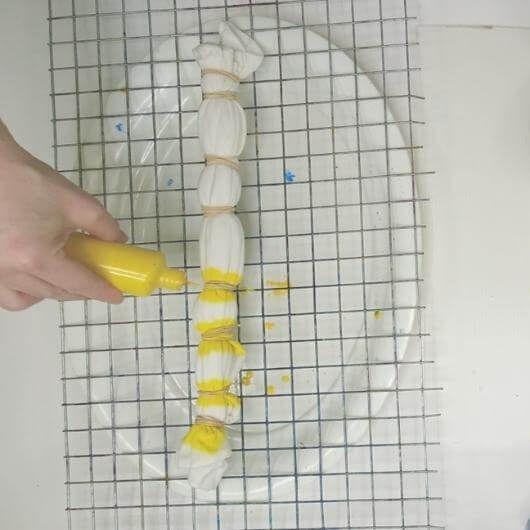
APPLY THE DYE
Choose your colour combination in this example we are using yellow and magenta
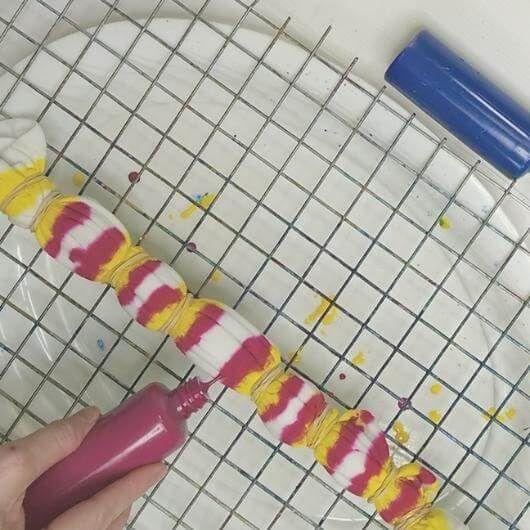
DO STRIPES
Start applying the colours in stripes by alternating them. Flip your T-shirt after each strip is done, and make sure you fill it with colour on both sides of the shirt. Repeat this step until you have filled up the entire shirt with colour
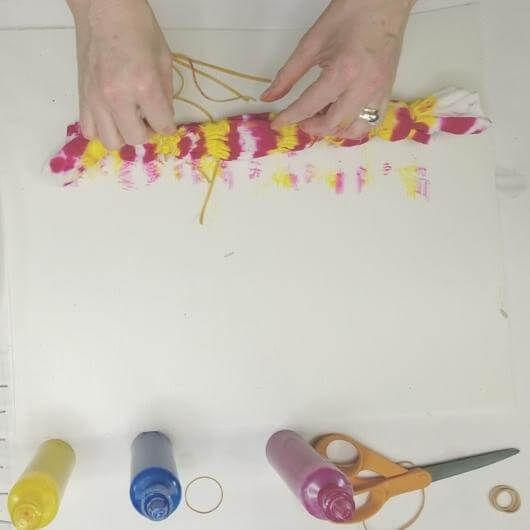
REMOVE
Once the T-shirt is dyed, remove all rubber bands before it dries.
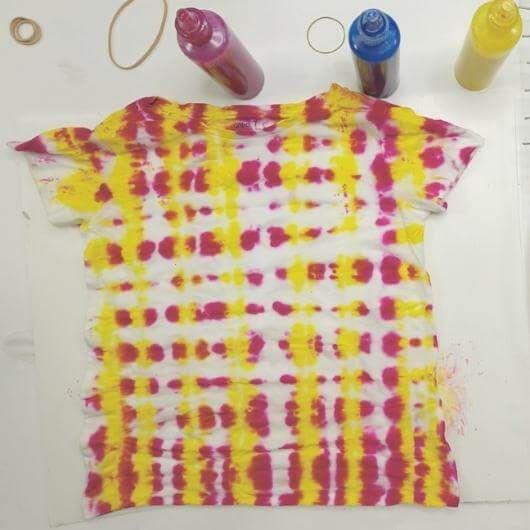
COMPLETE
Leave to dry and don't forget to heat set.
TIE-DYE | FABRIC SPRAY PAINT
It's simple to apply tie-dye in the Derivan Refillable Art Spray Bottles to give a T-shirt or accessory a splash of colour. See how simple it is,
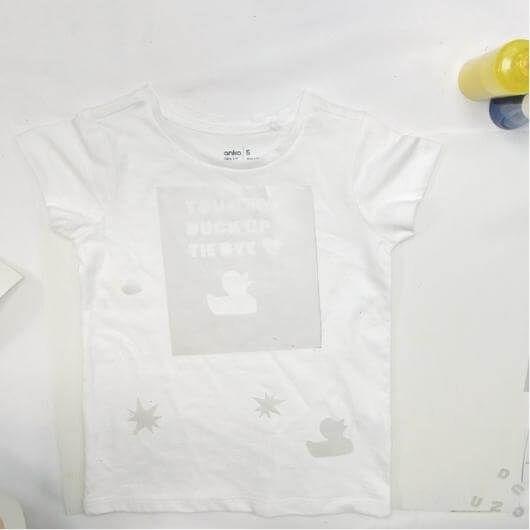
CUT A STENCIL
Create a stencil out of contact or vinyl and place it on the dry T-shirt. -In this t-shirt design, the negative shapes are used as well. See the duck shape bottom left
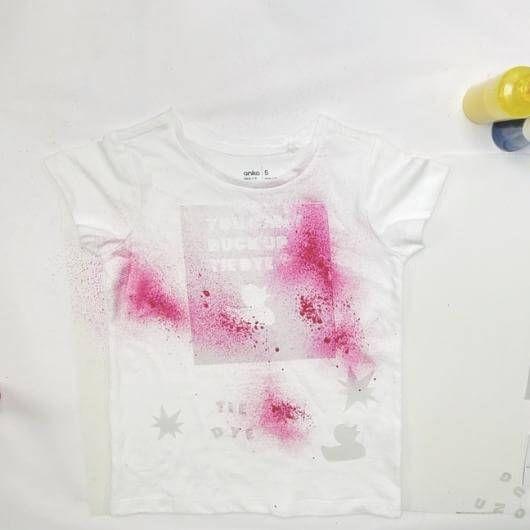
START SPRAYING
Use the Derivan Refillable Art Spray Bottles with a small amount of the dye and start spraying your design.
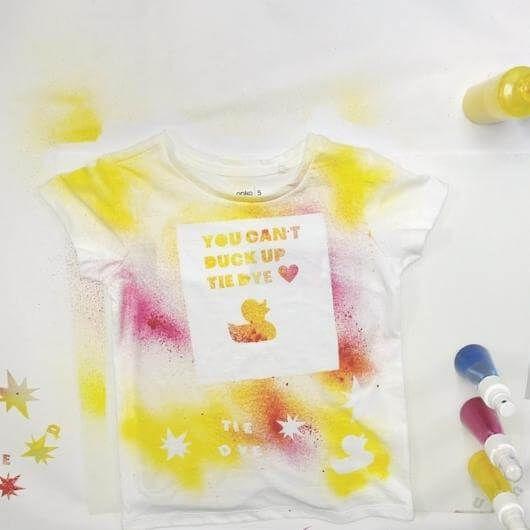
LAYER THE COLOURS
Try mixing colours by spraying them over one another.
USING RUBBER BANDS TO CREATE CIRCLE TIE-DYE DESIGNS
Creating this circle tie-dye shirt is extremely simple. You need a damp shirt, a few rubber bands, and the Derivan Tie-dye. We created a two rings design for this example, but you may use as many as you desire.
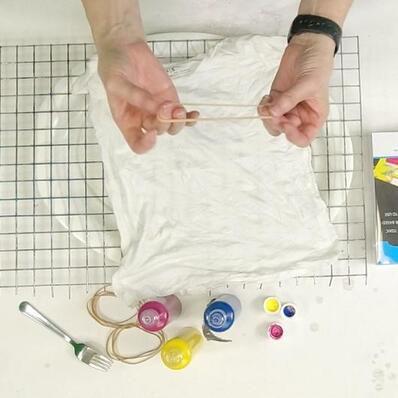
START WITH A
WET T-SHIRT
Your t-shirt should be damp before you start tie-dying because this encourages the intense, pigmented dyes to diffuse through the fabric.
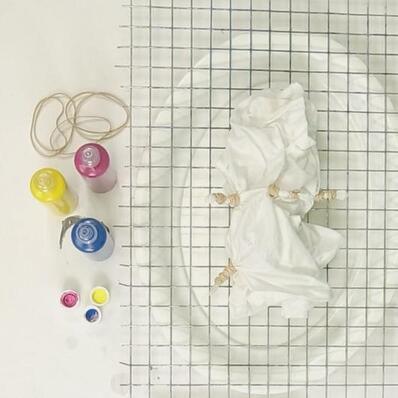
POSITION YOUR RUBBER BANDS
Increase or decrease the size of the circle by moving the rubberbanded rings up or down. The more rubber bands you add, the more circles you will get in your design.
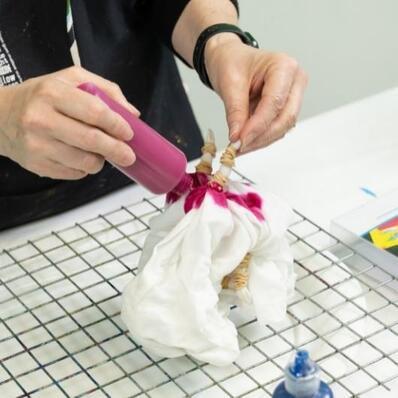
START APPLYING THE TIE-DYES
Time to get creative, the fine nozzles in this kit allow precision in applying the dyes.
LOOKING FOR MORE TIE-DYE INSPIRATION?
Tie-dye is a fun activity for all ages if you're into crafts. You can make various things with tie-dye, from clothes and accessories to bags and shoes. We've been having a blast creating quick how-to videos, so check out our tie-dye playlist on YouTube.


