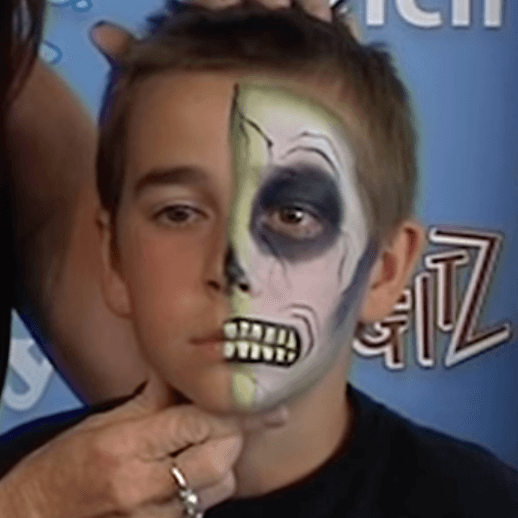
HALF SKULL FACE PAINT DESIGN
This super scary half skull design is a fantastic spooky costume, and a surprisingly easy design despite looking complex and professional. Using this guide, anyone can create the perfect Halloween costume with just face paint. Whether you're a beginner or a seasoned professional, this look can be perfect for yourself, friends or customers, and will make a fantastic and super scary look.
YOU WILL NEED
Before starting your Cat face paint design, ensure you have all the necessary supplies.
A clean, well-lit workspace
A disposable surface to protect your workspace
A mirror for easy visibility
Smock or apron to protect your clothes
Disposable gloves for cleanliness
OR
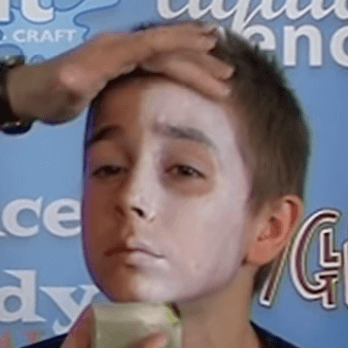
STEP ONE | SKULL BASE COLOUR
Begin by dabbing white Derivan face paint onto one half of the face with a sponge, avoiding the eye area. Setting this base will make the design stand out and prime the skin for the rest of the design.
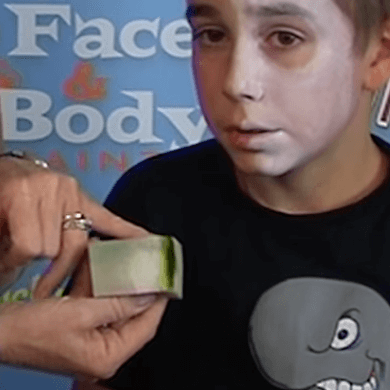
STEP TWO | PREPARE SPONGE
About 1cm from the edge of this sponge, load a small amount of yellow Derivan face paint, followed by a small amount of black Derivan face paint right on the edge, as shown in the image
STEP THREE | SKULL 3D EDGE
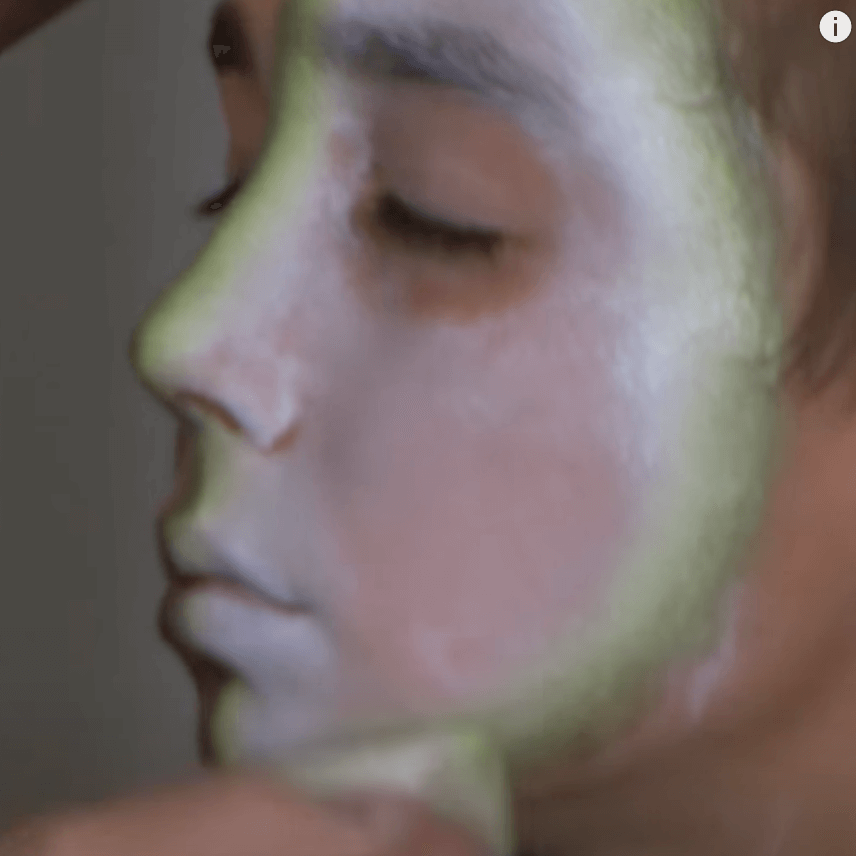
Use this loaded sponge to dab the edge of the white area and create an edge or outline around the half skull. This applies depth and a slight shadow to create a 3 dimensional effect and a more complex design
STEP FOUR | SKULL EYE, CHEEK AND NOSE
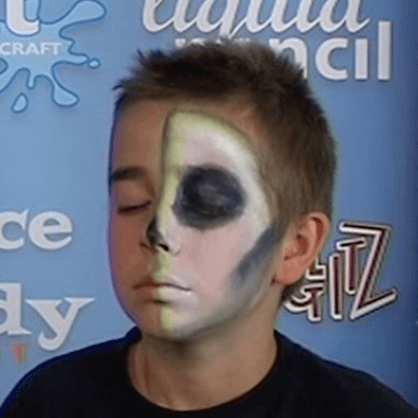
Scrunch up a sponge loaded with black Derivan face paint, and use the rounded edge created by scrunching it, to fill in the eye area. Then, use a sharp edge of the sponge to create shading below the cheek bone, and fill in the top of the nose.
STEP FIVE | SKULL TEETH
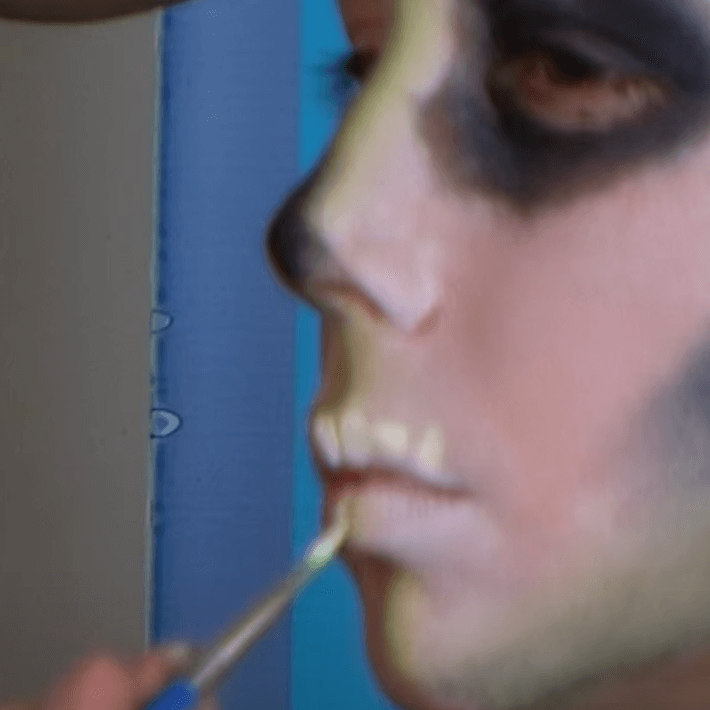
Load a chisel brush with yellow Derivan face paint and a small amount of white Derivan face paint, and use it to create small rectangular shapes on the lips to make teeth.
STEP SIX | TEETH OUTLINE
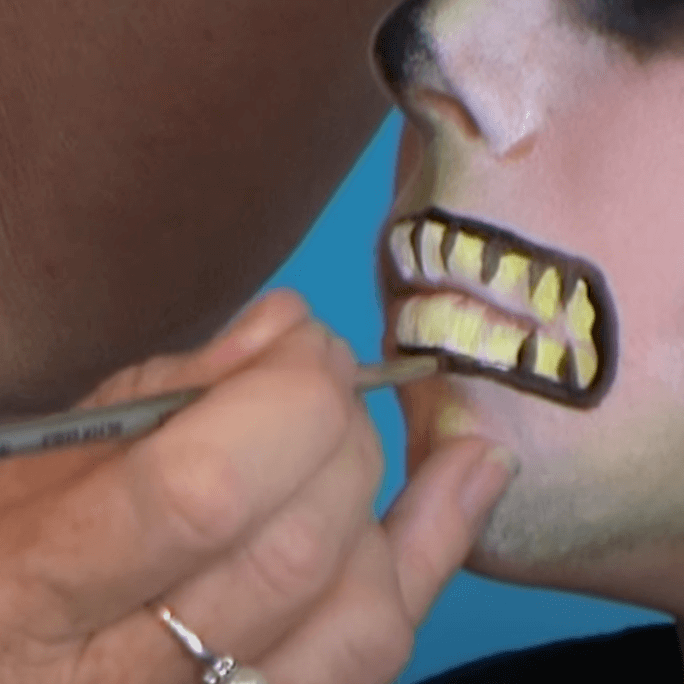
Using black Derivan face paint and a round brush, outline the teeth and fill in the upper gaps between the teeth on the top, and the lower gaps between the teeth on the bottom, to create the mouth and lips.
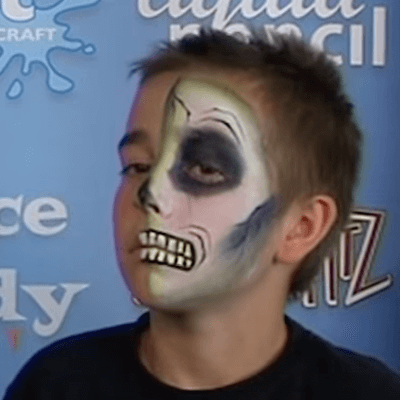
STEP SEVEN | FINISHING TOUCHES
Using this round brush loaded with black paint, outline some wrinkles near the mouth and eyes, and for extra detail you can draw squiggly lines from the cheek bones and forehead to create a crack.
Tips to make your next half skull face paint design even better
There are plenty of ways to improve your next half skull face paint design. For example, use the sponge loading technique to make the cheek bone and eye details more complex and add depth.
Practice your half skull designs
As you can see, creating a half skull face paint design isn’t difficult, but it does take some practice. If you follow the tips and steps outlined in this guide, you’ll be a pro in no time. With a bit of practice, you’ll be able to easily create terrifying half skull face paint designs.
