Make a Glitter Pop Up Birthday Card | DIY Paper craft
FUN AND EASY CARD MAKING PROJECT
Derivan Kindy Glitz (Glitter Glue)
BUY GLITTER GLUE
LEARN MORE ABOUT GLITTER GLUE
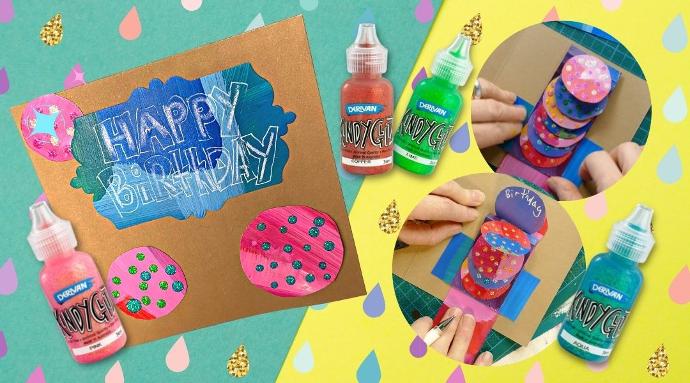
Who needs a store-bought card when you can make your own?
This DIY birthday card is so easy to make and a great way to let someone know they're special. Follow the step by step instructions to learn how to make handmade birthday pop-up card Follow the steps below to learn how to make a handmade happy birthday glitter pop up card!
YOU WILL NEED:
- Paper
- Ruler
- Derivan Acrylics
- Derivan Kindy Glitz
- Scissors & Cutting Knife
- Pre-made card
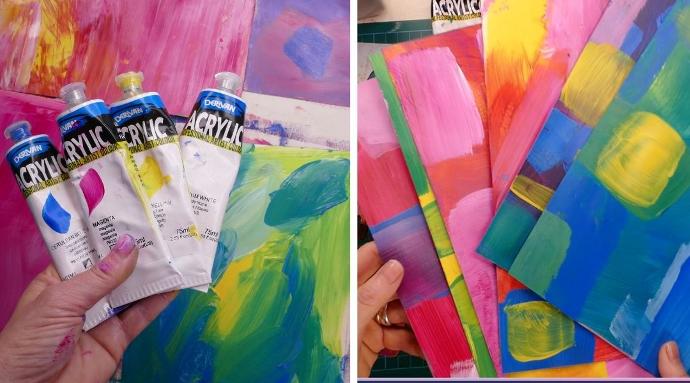
STEP ONE
You will need to prepare some paper by painting the different colours on both sides of the paper. In this example, I have mixed up different colours with white. You need to do both sides because it is a pop-up card. When you pop up the card up you see will the colours on the backside when you stand it up and open it.
STEP TWO
Draw or trace the circles onto the paper, make sure they are the same size - you will need 7 circles. Now once you’ve drawn out all of the circles, it’s time to grab your scissors and get cutting!
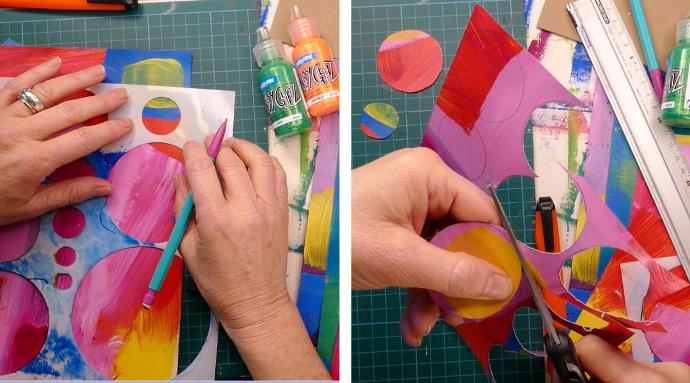
STEP THREE
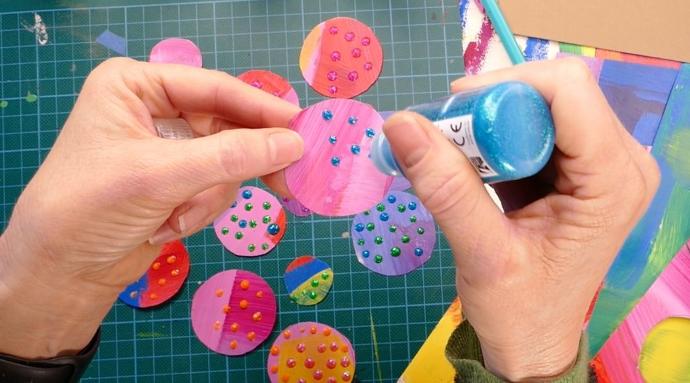
I love this part of the project. You can use Derivan Kindy Glitz to make it really special and choose your favourite colours. Make sure you think about what colours are on the circles you cut out and try to match them with the painted colours
STEP FOUR
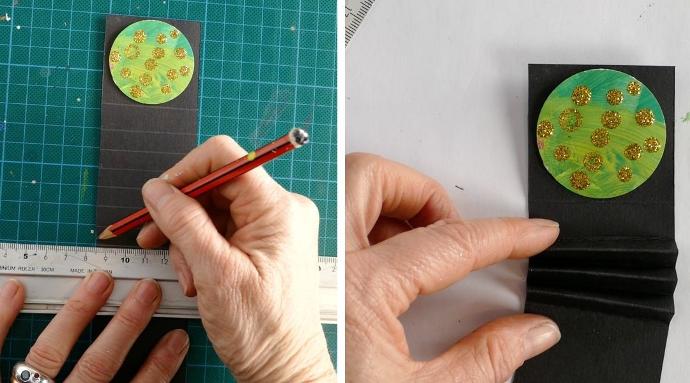
1) Cut a strip of paper the same diameter as the circles.
2) Glue one circle at the bottom of the strip and
3) Draw seven lines 1cm apart above the circle.
4) Fold each line you have drawn.
STEP FIVE
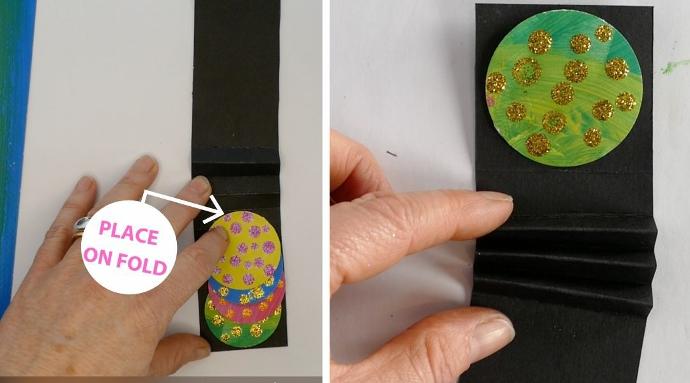
First, you'll want to glue each circle onto the strip of paper. Then, use the lines that you drew for reference to space out your circles evenly. Make sure they are just below the line and not above it. Otherwise, they will be too close to the next one!
STEP SIX
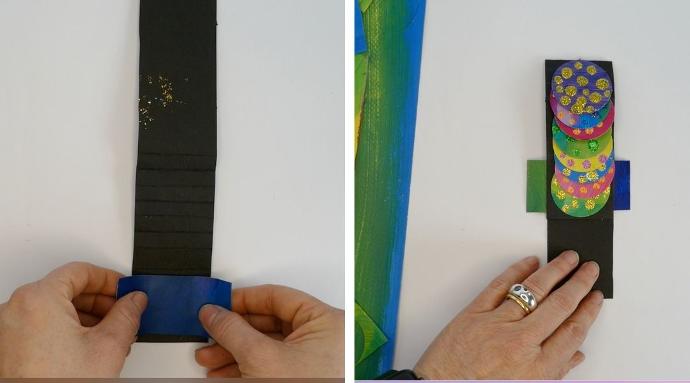
Now you want to flip the strip with the circles adhered. Now all you need to do is glue a strip of painted card perpendicular to the strip you have created on the underside of the circles.

STEP SEVEN
Now that your pop up card is complete, you can glue it into your ready-made card. All that's left to do now is write a birthday greeting on the front of the card and decorate with glitter and paint.
Get your child's imagination going and put a smile on their face with these cool projects
The best part about these projects is all you need is some glitter glue paper, paint and a little imagination.
You will be surprised by how many cool things you can create with just a few materials! Check out these awesome projects.
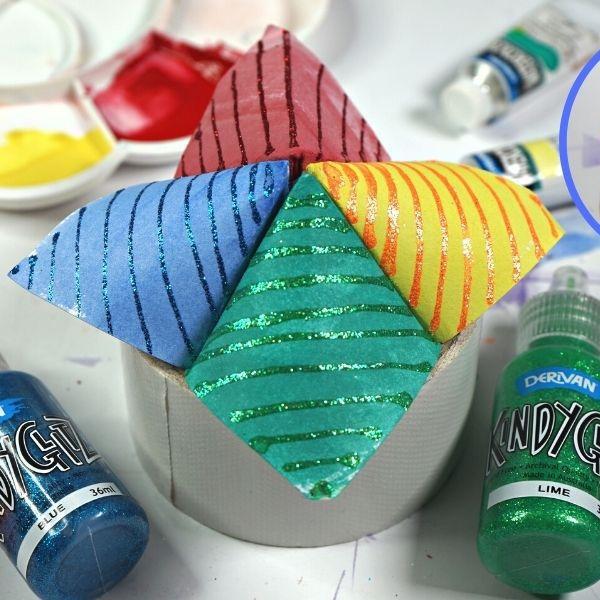
CHATTER BOX
Kids love to get their hands dirty and make something great. This easy origami project is perfect for kids of all ages and only requires a few supplies. Glitter glue is a fun way to spice up any craft project
KNOW MORE
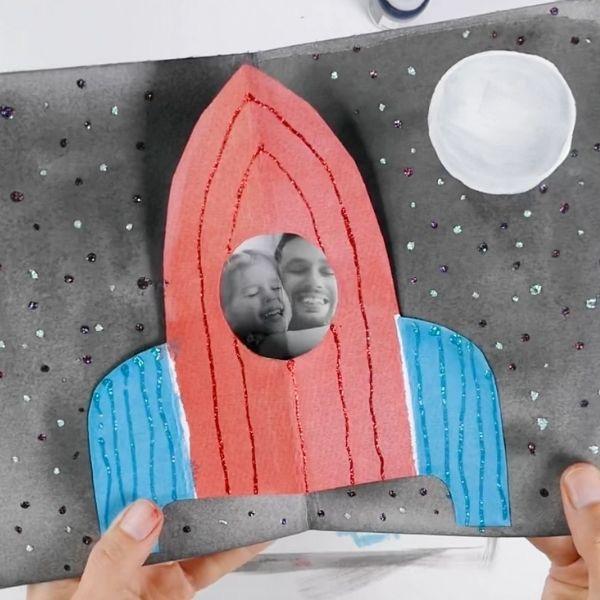
FATHERS DAY POP-UP CARD
If you're looking for a father's day card that's as corny as dad, look no further. Derivan kindy glitz and some cardboard will have you saying "I love you, dad!" in no time.
KNOW MORE
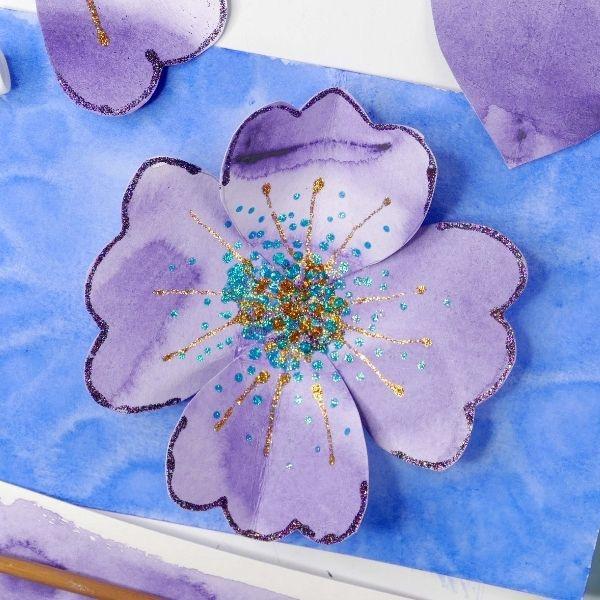
FLOWER POP-UP CARD
This DIY tutorial will show you a quick and easy way to make your own beautiful flower pop up card with watercolour paint paper and Derivans famous glitter glue
